Introduction to Homemade Coconut Ice Cream
Are you ready to dive into a world of creamy delight? Homemade coconut ice cream is not just a dessert; it’s an experience! This treat is perfect for those hot summer days or whenever you crave something sweet. With its rich coconut flavor and smooth texture, it’s hard to resist. Plus, making it at home means you can control the ingredients, ensuring a healthier option for you and your loved ones.
Why Choose Homemade Coconut Ice Cream?
Choosing homemade coconut ice cream over store-bought options has many perks. First, you can customize the flavors to suit your taste. Want it sweeter? Add more sugar! Prefer a stronger coconut flavor? Just toss in extra shredded coconut. The possibilities are endless! Additionally, homemade ice cream is free from preservatives and artificial ingredients, making it a healthier choice.
Moreover, making ice cream at home can be a fun activity. Gather your family or friends, and enjoy the process together. It’s a great way to bond while creating something delicious. Plus, there’s nothing quite like the satisfaction of enjoying a treat you made yourself!
The Benefits of Dairy-Free Desserts
Dairy-free desserts, like our homemade coconut ice cream, offer numerous benefits. For starters, they are perfect for those who are lactose intolerant or have dairy allergies. This ice cream is also suitable for vegans, allowing everyone to enjoy a sweet treat without compromising their dietary choices.
Additionally, coconut milk is rich in healthy fats, which can provide energy and support overall health. It’s a great alternative to traditional dairy, making it easier for many to enjoy desserts without the discomfort that dairy can cause. So, whether you’re vegan, lactose intolerant, or just looking for a healthier dessert option, homemade coconut ice cream is a fantastic choice!
Ingredients for Homemade Coconut Ice Cream
Creating your own homemade coconut ice cream is simple and requires just a few key ingredients. Here’s what you’ll need to whip up this delightful treat:
- 2 cans of full-fat coconut milk: This is the base of your ice cream, providing a rich and creamy texture.
- 1 cup of shredded coconut: For that extra coconut flavor and a delightful texture.
- 3/4 cup of sweetener: You can use sugar, maple syrup, or agave syrup, depending on your preference.
- 1 teaspoon of vanilla extract: This adds a lovely aroma and enhances the overall flavor.
- Pinch of salt: A little salt helps to balance the sweetness and brings out the flavors.
These ingredients are not only easy to find but also work together to create a deliciously creamy ice cream. Feel free to adjust the sweetness or add more coconut to suit your taste. The beauty of homemade ice cream is that you can make it just the way you like it!
Now that you have your ingredients ready, let’s move on to the next step: preparing your homemade coconut ice cream!
Step-by-Step Preparation of Homemade Coconut Ice Cream
Now that you have your ingredients ready, it’s time to bring your homemade coconut ice cream to life! Follow these simple steps to create a creamy, delicious treat that everyone will love. Let’s get started!
Step 1: Gather Your Ingredients
Before you begin, make sure you have all your ingredients on hand. This will make the process smoother and more enjoyable. Gather:
- 2 cans of full-fat coconut milk
- 1 cup of shredded coconut
- 3/4 cup of your chosen sweetener
- 1 teaspoon of vanilla extract
- A pinch of salt
Having everything ready will help you move quickly through the steps. Plus, it’s always nice to see your ingredients laid out, ready for action!
Step 2: Mix the Base
In a large mixing bowl, pour in the two cans of coconut milk. Use a whisk or a hand mixer to blend the coconut milk until it’s smooth. Next, add your sweetener and a pinch of salt. Mix well until everything is combined. This base is the heart of your ice cream, so make sure it’s creamy and well-mixed!
Step 3: Incorporate Coconut and Vanilla
Now it’s time to add the fun stuff! Stir in the shredded coconut and vanilla extract. The shredded coconut will give your ice cream that delightful texture, while the vanilla adds a lovely flavor. Mix everything together until it’s evenly distributed. You’ll start to see the beautiful coconut flakes throughout the mixture!
Step 4: Churn the Mixture
If you have an ice cream maker, this step is a breeze! Pour your mixture into the ice cream maker and churn according to the manufacturer’s instructions. This usually takes about 20-30 minutes. If you don’t have an ice cream maker, don’t worry! You can still make this ice cream. Just pour the mixture into a shallow dish and place it in the freezer. Stir it every 30 minutes for about 2-3 hours to break up any ice crystals.
Step 5: Freeze the Ice Cream
Once your mixture is churned to a soft-serve consistency, transfer it to an airtight container. Smooth the top with a spatula and cover it tightly. Place the container in the freezer for at least 4 hours, or until it’s firm. This final freezing step is crucial for achieving that perfect scoopable texture!
And there you have it! Your homemade coconut ice cream is almost ready to enjoy. Just a little patience, and you’ll be rewarded with a delicious, creamy treat that’s perfect for any occasion.
Variations of Homemade Coconut Ice Cream
While the classic homemade coconut ice cream is delightful on its own, there are many fun variations you can try! Adding different flavors and ingredients can elevate your ice cream experience. Let’s explore two exciting ways to customize your coconut ice cream.
Adding Fruits to Your Homemade Coconut Ice Cream
Fruits can add a burst of flavor and color to your homemade coconut ice cream. You can mix in fresh or frozen fruits to create a tropical twist. Here are some popular options:
- Mango: Puree ripe mangoes and swirl them into the coconut mixture for a refreshing mango coconut ice cream.
- Pineapple: Add crushed pineapple for a piña colada-inspired treat. The sweetness of the pineapple pairs perfectly with coconut.
- Banana: Mash ripe bananas and mix them in for a creamy banana coconut ice cream. This adds natural sweetness and a smooth texture.
To incorporate fruits, simply fold them into the ice cream mixture before churning. You can also layer the fruit puree in between scoops for a beautiful presentation. The result is a deliciously fruity ice cream that’s sure to impress!
Chocolate Swirl Homemade Coconut Ice Cream
If you’re a chocolate lover, this variation is for you! Adding a chocolate swirl to your homemade coconut ice cream creates a delightful contrast of flavors. Here’s how to do it:
- Chocolate Sauce: Prepare a simple chocolate sauce by melting dark chocolate with a bit of coconut oil. Allow it to cool slightly before using.
- Swirling: After churning your coconut ice cream, drizzle the chocolate sauce into the mixture. Use a spatula to gently swirl it in, creating beautiful ribbons of chocolate.
This chocolate swirl not only adds a rich flavor but also makes your ice cream visually appealing. Each scoop will reveal a delicious blend of creamy coconut and luscious chocolate. It’s a match made in dessert heaven!
Feel free to experiment with other flavors and mix-ins. The beauty of homemade coconut ice cream is that you can tailor it to your taste. So, get creative and enjoy the process of making your own unique variations!
Cooking Note for Homemade Coconut Ice Cream
When making homemade coconut ice cream, a few cooking notes can help ensure your dessert turns out perfectly every time. First, always use full-fat coconut milk for the creamiest texture. Low-fat versions may result in a less satisfying mouthfeel.
Next, if you prefer a sweeter ice cream, feel free to adjust the amount of sweetener. Taste the mixture before freezing to find the perfect balance for your palate. Remember, the sweetness can mellow out once frozen, so don’t be afraid to add a little extra!
Also, if you’re adding fruits or other mix-ins, make sure they are well-drained. Excess moisture can lead to ice crystals forming in your ice cream, which can affect the texture. For fruits, consider pureeing them or chopping them into small pieces to ensure even distribution throughout the ice cream.
Lastly, if you don’t have an ice cream maker, the manual stirring method is key. Stirring every 30 minutes while freezing helps break up ice crystals, resulting in a smoother texture. Be patient, as this step is crucial for achieving that creamy consistency we all love!
By keeping these cooking notes in mind, you’ll be well on your way to creating a delicious batch of homemade coconut ice cream that everyone will enjoy!
Serving Suggestions for Homemade Coconut Ice Cream
Now that you’ve made your delicious homemade coconut ice cream, it’s time to serve it up! The way you present your ice cream can elevate the experience. Here are some delightful serving suggestions to enhance your treat.
Toppings to Enhance Your Homemade Coconut Ice Cream
Toppings can take your homemade coconut ice cream to the next level. Here are some tasty options to consider:
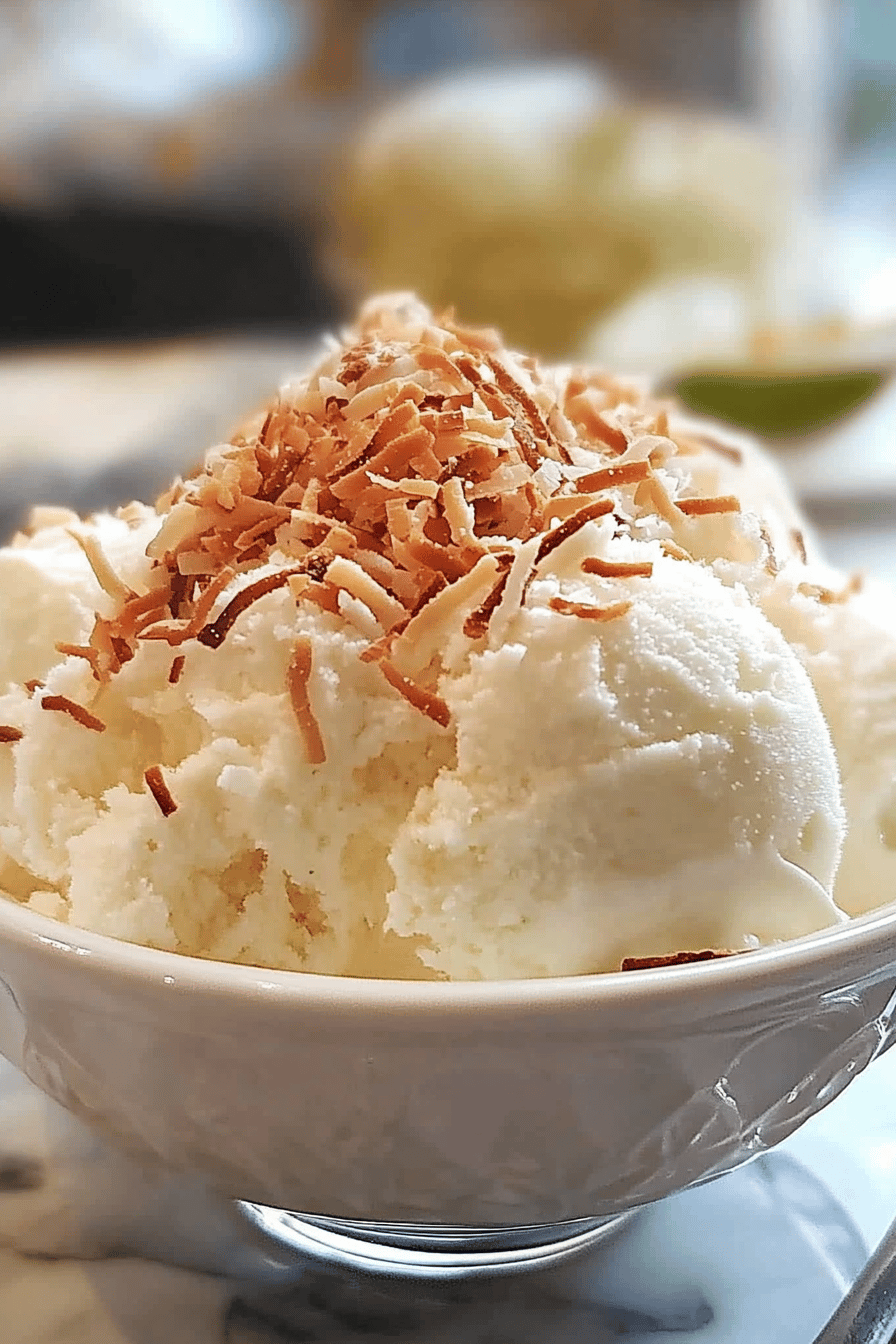
- Toasted Coconut Flakes: Sprinkle some toasted coconut flakes on top for an extra crunch and a boost of coconut flavor.
- Fresh Fruits: Add slices of fresh mango, strawberries, or kiwi for a refreshing touch. The natural sweetness of the fruits pairs beautifully with the creamy ice cream.
- Nuts: Chopped almonds or walnuts can add a delightful crunch. They also provide healthy fats and protein.
- Chocolate Chips: For chocolate lovers, a handful of dark or dairy-free chocolate chips can add a rich flavor contrast.
- Drizzle of Honey or Maple Syrup: A light drizzle of honey or maple syrup can enhance the sweetness and add a lovely shine.
Feel free to mix and match these toppings to create your perfect scoop. The combination of textures and flavors will make each bite a delightful experience!
Pairing with Other Desserts
Homemade coconut ice cream is versatile and can be paired with other desserts for a truly indulgent treat. Here are some ideas:
- Brownies: Serve a scoop of coconut ice cream on top of warm brownies. The contrast of warm and cold is simply divine!
- Fruit Salad: A scoop of coconut ice cream can complement a fresh fruit salad, adding creaminess to the mix.
- Chocolate Cake: Pairing coconut ice cream with a slice of rich chocolate cake creates a delicious flavor combination.
- Waffles or Pancakes: Top your breakfast waffles or pancakes with a scoop of coconut ice cream for a fun twist on brunch.
These pairing suggestions can turn your homemade coconut ice cream into a star dessert at any gathering. Enjoy experimenting with different combinations to find your favorites!
Tips for Perfect Homemade Coconut Ice Cream
Creating the perfect homemade coconut ice cream is an art! With a few helpful tips, you can ensure that your ice cream turns out creamy, flavorful, and absolutely delicious. Here are some essential tips to keep in mind:
- Use Quality Ingredients: The quality of your ingredients matters. Opt for full-fat coconut milk for a rich and creamy texture. Fresh, organic ingredients will enhance the flavor of your ice cream.
- Chill Your Equipment: If you’re using an ice cream maker, chill the bowl beforehand. This helps the ice cream freeze faster, resulting in a smoother texture.
- Don’t Skip the Salt: A pinch of salt is crucial! It balances the sweetness and enhances the overall flavor of your ice cream.
- Experiment with Sweeteners: Feel free to try different sweeteners like agave syrup, honey, or even coconut sugar. Each will give your ice cream a unique flavor profile.
- Let It Rest: After churning, let your ice cream sit at room temperature for about 5-10 minutes before serving. This makes scooping easier and enhances the texture.
- Store Properly: To keep your ice cream fresh, store it in an airtight container. Press a piece of parchment paper against the surface before sealing to prevent ice crystals from forming.
- Be Patient: Homemade ice cream takes time to freeze properly. Allow it to sit in the freezer for at least 4 hours for the best results. Patience is key!
By following these tips, you’ll be well on your way to mastering the art of homemade coconut ice cream. Each batch will be a delightful treat that you can enjoy with family and friends!
Breakdown of Time for Homemade Coconut Ice Cream
Understanding the time needed to make homemade coconut ice cream can help you plan better. Here’s a simple breakdown of the time involved in each step of the process. This way, you can enjoy your delicious treat without any surprises!
Prep Time
The prep time for homemade coconut ice cream is quite short. You’ll need about 15 minutes to gather your ingredients and mix the base. This includes:
- Gathering all your ingredients
- Mixing the coconut milk, sweetener, and salt
- Incorporating the shredded coconut and vanilla
In just a quarter of an hour, you’ll have your mixture ready to churn!
Cooking Time
Cooking time mainly depends on whether you use an ice cream maker or not. If you have an ice cream maker, it typically takes about 20-30 minutes to churn the mixture to a soft-serve consistency. If you’re using the manual method, you’ll need to stir the mixture every 30 minutes for about 2-3 hours while it freezes. This method requires a bit more time but is still manageable!
Total Time
In total, you can expect to spend around 4-5 hours to make homemade coconut ice cream. This includes:
- 15 minutes for prep
- 20-30 minutes for churning (if using an ice cream maker)
- 4 hours for freezing
So, whether you’re making it for a special occasion or just a sweet treat for yourself, plan ahead! The wait will be worth it when you finally scoop into your creamy, homemade coconut ice cream.
Nutritional Information for Homemade Coconut Ice Cream
Understanding the nutritional content of your homemade coconut ice cream can help you enjoy it guilt-free. This delicious treat not only satisfies your sweet tooth but also provides some health benefits. Let’s break down the key nutritional components of this delightful dessert.
Calories in Homemade Coconut Ice Cream
One serving of homemade coconut ice cream (about 1/2 cup) contains approximately 200-250 calories. The calorie count can vary based on the sweetener you choose and the amount of shredded coconut used. While it’s a treat, it’s still a reasonable option compared to many store-bought ice creams that can be loaded with sugar and additives.
Protein Content
Homemade coconut ice cream is not a significant source of protein. Each serving typically contains around 2-3 grams of protein. This is mainly from the coconut milk. If you’re looking to boost the protein content, consider adding a scoop of your favorite protein powder or serving it with nuts, which can enhance both flavor and nutrition.
Sodium Levels
The sodium content in homemade coconut ice cream is quite low, usually around 10-20 mg per serving. This is beneficial for those watching their sodium intake. The pinch of salt added during preparation helps enhance the flavors without significantly increasing sodium levels. Enjoy this creamy treat without worrying about excess sodium!
Overall, homemade coconut ice cream is a delightful dessert that can fit into a balanced diet. With its creamy texture and rich flavor, it’s a treat you can enjoy while still being mindful of your nutritional choices!
FAQs about Homemade Coconut Ice Cream
Can I use regular milk instead of coconut milk?
While you can use regular milk, it will change the flavor and texture of your ice cream. Coconut milk is what gives this recipe its creamy, rich taste. If you’re looking for a dairy-free option, stick with coconut milk. However, if you prefer regular milk, you can use it, but the result will not be the same as the original recipe.
How long does homemade coconut ice cream last?
Homemade coconut ice cream can last in the freezer for about 2-3 weeks. To keep it fresh, store it in an airtight container. Make sure to press a piece of parchment paper against the surface before sealing. This helps prevent ice crystals from forming, ensuring your ice cream stays creamy and delicious!
Is homemade coconut ice cream suitable for vegans?
Yes! Homemade coconut ice cream is a fantastic vegan dessert. It’s made entirely from plant-based ingredients, making it perfect for those following a vegan lifestyle. With its rich coconut flavor and creamy texture, it’s a treat that everyone can enjoy, regardless of dietary preferences!
Can I make homemade coconut ice cream without an ice cream maker?
Absolutely! If you don’t have an ice cream maker, you can still make delicious coconut ice cream. Simply pour the mixture into a shallow dish and place it in the freezer. Stir it every 30 minutes for about 2-3 hours. This manual method helps break up ice crystals, resulting in a smooth and creamy texture. It may take a bit longer, but the end result is worth the wait!
Conclusion on Homemade Coconut Ice Cream
In conclusion, making homemade coconut ice cream is a delightful experience that brings joy to both the creator and the consumer. This creamy, dairy-free treat is not only easy to prepare but also allows for endless customization. Whether you prefer it plain or with exciting mix-ins, the possibilities are truly endless!
Recap of the Delightful Experience of Making Homemade Coconut Ice Cream
From gathering your ingredients to the final freezing step, each part of the process is filled with anticipation and excitement. The rich aroma of coconut and vanilla fills your kitchen, making it hard to resist sneaking a taste along the way. Plus, the satisfaction of enjoying a treat made with your own hands is unmatched.
As you scoop into your homemade coconut ice cream, you can feel good knowing that it’s a healthier option compared to many store-bought varieties. With its natural ingredients and customizable sweetness, it’s a dessert that everyone can enjoy, regardless of dietary restrictions.
So, whether you’re hosting a summer gathering, celebrating a special occasion, or simply treating yourself, homemade coconut ice cream is the perfect choice. It’s a refreshing, guilt-free indulgence that will leave you and your loved ones smiling. Dive into this creamy delight and savor every spoonful!
Relevant Recipes Link:
Craving more delightful homemade treats? Explore these fantastic recipes:
- Homemade Vanilla Ice Cream: A Cool and Creamy Delight
- Homemade Chocolate Covered Ice Cream Bars: Irresistible Frozen Goodness
- Homemade Chocolate Chip Cookies: Classic and Irresistible
For more mouthwatering recipes and culinary inspiration, follow us on Pinterest!