Introduction to Creamy Vanilla Ice Cream
The Allure of Homemade Ice Cream
There’s something magical about homemade ice cream. The process is simple, yet it brings joy to many. When you make ice cream at home, you control every ingredient. This means you can create a dessert that’s not only delicious but also free from preservatives and artificial flavors. The creamy texture and rich taste of homemade ice cream are hard to beat. Plus, it’s a fun activity to do with family or friends. Imagine the laughter and excitement as you churn the mixture together!
Why Choose Creamy Vanilla Ice Cream?
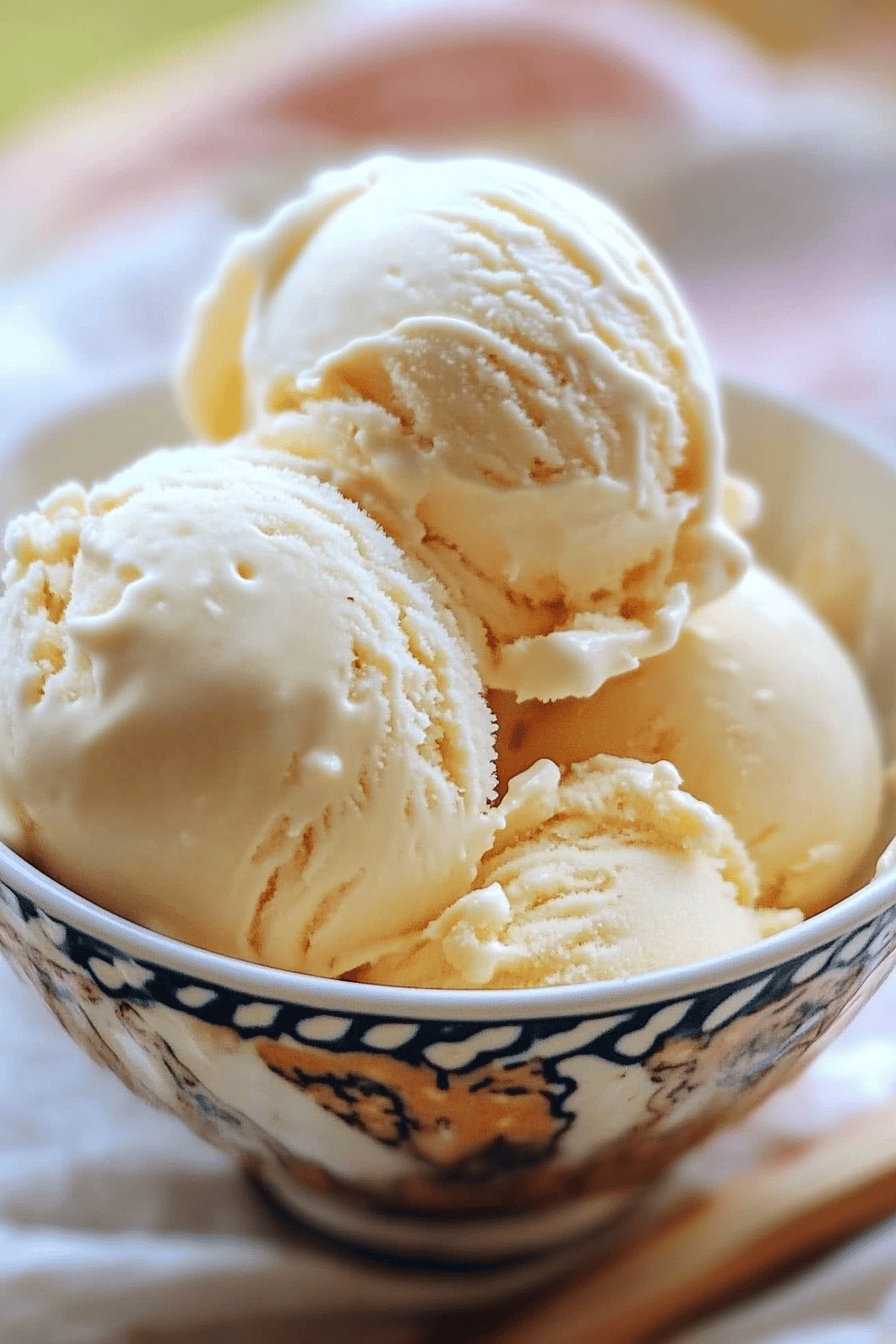
Creamy Vanilla Ice Cream is a classic favorite for a reason. Its smooth and rich flavor makes it a versatile dessert. You can enjoy it on its own or pair it with your favorite pie or cake. Vanilla is often called the “base flavor” because it complements so many other tastes. Whether you’re serving it at a summer barbecue or enjoying a quiet evening at home, this ice cream is sure to please everyone. Plus, it’s easy to make, requiring just a few simple ingredients. So, why not treat yourself to a scoop of this delightful dessert?
Ingredients for Creamy Vanilla Ice Cream
To create your own batch of Creamy Vanilla Ice Cream, you’ll need just a handful of simple ingredients. Each one plays a vital role in achieving that rich, velvety texture and delightful flavor. Here’s what you’ll need:
- 2 cups heavy cream: This is the star ingredient that gives your ice cream its creamy consistency.
- 1 cup whole milk: Whole milk adds richness and helps balance the creaminess of the heavy cream.
- 3/4 cup granulated sugar: Sugar sweetens the mixture and enhances the vanilla flavor.
- 1 tablespoon pure vanilla extract: This adds that classic vanilla taste that makes this ice cream so special.
- Pinch of salt: A little salt enhances the sweetness and rounds out the flavors.
These ingredients are easy to find at your local grocery store. When selecting your vanilla extract, opt for pure vanilla for the best flavor. Avoid imitation vanilla, as it can alter the taste of your ice cream. With these ingredients in hand, you’re ready to embark on your ice cream-making adventure!
Step-by-Step Preparation of Creamy Vanilla Ice Cream
Step 1: Gather Your Ingredients
Before you start making your Creamy Vanilla Ice Cream, it’s important to gather all your ingredients. This makes the process smoother and more enjoyable. You’ll need:
- 2 cups heavy cream
- 1 cup whole milk
- 3/4 cup granulated sugar
- 1 tablespoon pure vanilla extract
- A pinch of salt
Make sure everything is fresh and ready to go. Having your ingredients prepped will help you focus on creating that delicious ice cream!
Step 2: Mix the Base for Creamy Vanilla Ice Cream
Now that you have everything ready, it’s time to mix your ice cream base. In a large mixing bowl, combine the heavy cream, whole milk, and granulated sugar. Use a whisk to blend them together until the sugar dissolves completely. This step is crucial as it ensures a smooth texture in your ice cream.
Next, add the pure vanilla extract and a pinch of salt. Stir gently to combine all the ingredients. The mixture should be creamy and well-blended. This is the foundation of your Creamy Vanilla Ice Cream, so take your time to get it just right!
Step 3: Churn the Ice Cream Mixture
Once your base is ready, it’s time to churn! If you have an ice cream maker, pour the mixture into the machine and follow the manufacturer’s instructions. Churning incorporates air into the ice cream, making it light and fluffy.
If you don’t have an ice cream maker, don’t worry! You can still make delicious ice cream. Pour the mixture into a shallow dish and place it in the freezer. Every 30 minutes, stir the mixture with a fork to break up any ice crystals. Repeat this process for about 2-3 hours until the ice cream is creamy and firm.
Step 4: Freeze the Creamy Vanilla Ice Cream
After churning, transfer your ice cream to an airtight container. Smooth the top with a spatula and cover it tightly. Place the container in the freezer for at least 4 hours, or until the ice cream is firm. This final freezing step is essential for achieving that perfect scoopable texture.
Once frozen, your Creamy Vanilla Ice Cream is ready to enjoy! Scoop it into bowls or cones and get ready to indulge in a delightful treat.
Variations of Creamy Vanilla Ice Cream
Adding Mix-Ins to Your Creamy Vanilla Ice Cream
One of the best things about making your own Creamy Vanilla Ice Cream is the ability to customize it. Adding mix-ins can elevate your ice cream to a whole new level. Here are some fun ideas to consider:
- Chocolate Chips: Stir in semi-sweet or dark chocolate chips for a delightful crunch.
- Fresh Fruit: Add chopped strawberries, blueberries, or bananas for a fruity twist.
- Nuts: Chopped almonds, walnuts, or pecans can add a satisfying crunch and nutty flavor.
- Cookie Crumbles: Mix in crushed cookies like Oreos or chocolate chip cookies for a delicious texture.
- Swirls of Sauce: Drizzle in caramel or chocolate sauce for a rich, decadent treat.
When adding mix-ins, do so after churning the ice cream. Gently fold them into the mixture before transferring it to the freezer. This way, you’ll have a delightful surprise in every scoop!
Alternative Flavor Combinations
If you’re feeling adventurous, why not try some alternative flavor combinations? Vanilla is a fantastic base that pairs well with many other flavors. Here are a few ideas to inspire you:
- Chocolate Vanilla Swirl: Add cocoa powder to half of the ice cream base for a chocolatey twist.
- Mint Chocolate Chip: Incorporate peppermint extract and chocolate chips for a refreshing treat.
- Coffee Vanilla: Mix in brewed coffee or espresso for a delightful caffeine kick.
- Coconut Vanilla: Add shredded coconut for a tropical flavor that’s sure to please.
- Spiced Vanilla: Incorporate cinnamon or nutmeg for a warm, cozy flavor.
Experimenting with flavors can be a fun way to discover new favorites. Don’t hesitate to get creative and make this Creamy Vanilla Ice Cream your own!
Cooking Note for Creamy Vanilla Ice Cream
When making your Creamy Vanilla Ice Cream, a few cooking notes can help ensure your success. First, always use fresh ingredients. Fresh heavy cream and whole milk will yield the best flavor and texture. If possible, opt for organic products, as they often have a richer taste.
Temperature matters too! Before mixing, chill your mixing bowl and whisk in the freezer for about 15 minutes. This helps keep the mixture cold, which is essential for a smooth ice cream base. Additionally, if you’re using an ice cream maker, make sure the bowl is completely frozen if it requires pre-freezing. This step is crucial for achieving that creamy consistency.
While mixing, be careful not to over-whisk. You want to combine the ingredients until smooth, but over-whisking can introduce too much air, leading to a lighter texture than desired. Aim for a well-blended mixture without any lumps.
Lastly, patience is key during the freezing process. Allow your ice cream to freeze for the recommended time. If you rush this step, you may end up with a soft or icy texture. Once it’s ready, scoop and serve immediately for the best experience. Enjoy your homemade treat!
Serving Suggestions for Creamy Vanilla Ice Cream
Pairing with Toppings
When it comes to serving your Creamy Vanilla Ice Cream, the possibilities are endless! Toppings can add flavor, texture, and a fun twist to your dessert. Here are some delightful options to consider:
- Chocolate Sauce: Drizzle warm chocolate sauce over your ice cream for a rich, decadent treat.
- Caramel Sauce: A sweet caramel drizzle adds a buttery flavor that pairs beautifully with vanilla.
- Fresh Berries: Top with strawberries, raspberries, or blueberries for a refreshing burst of flavor.
- Whipped Cream: A dollop of whipped cream adds a light and airy touch to your dessert.
- Sprinkles: Colorful sprinkles can make your ice cream look festive and fun, perfect for kids!
Feel free to mix and match these toppings to create your perfect scoop. Whether you prefer something fruity, chocolatey, or crunchy, there’s a topping for everyone!
Creative Serving Ideas
Serving your Creamy Vanilla Ice Cream can be just as fun as making it! Here are some creative ideas to impress your family and friends:
- Ice Cream Sundae: Create a classic sundae by layering ice cream with toppings in a tall glass. Add whipped cream, nuts, and a cherry on top for a delightful presentation.
- Ice Cream Sandwiches: Scoop ice cream between two cookies for a delicious handheld treat. Chocolate chip or oatmeal cookies work great!
- Milkshakes: Blend your ice cream with milk for a creamy milkshake. Add flavors like chocolate or strawberry for a twist.
- Affogato: Pour a shot of hot espresso over a scoop of ice cream for a delightful coffee dessert.
- Fruit Cups: Serve scoops of ice cream in a bowl of fresh fruit for a refreshing and healthy dessert option.
These serving ideas can elevate your Creamy Vanilla Ice Cream experience. Get creative and enjoy your delicious homemade treat in style!
Tips for Perfect Creamy Vanilla Ice Cream
Making the perfect Creamy Vanilla Ice Cream is an art, and a few tips can help you achieve that dreamy texture and flavor. Here are some essential tips to keep in mind:
- Use Quality Ingredients: Always choose high-quality heavy cream and whole milk. Fresh, organic ingredients can significantly enhance the flavor of your ice cream.
- Chill Everything: Before mixing, chill your mixing bowl and whisk in the freezer. This helps keep the mixture cold, which is crucial for a smooth and creamy texture.
- Don’t Rush the Churning: If using an ice cream maker, allow it to churn for the recommended time. This process incorporates air, making your ice cream light and fluffy.
- Monitor Freezing Time: After churning, freeze your ice cream for at least 4 hours. This step is vital for achieving the right consistency. If you skip this, your ice cream may be too soft.
- Experiment with Flavors: Don’t hesitate to try different flavor combinations or mix-ins. Vanilla is a great base, so get creative and find your favorite twist!
- Store Properly: Use an airtight container to store your ice cream. This prevents ice crystals from forming and keeps your ice cream fresh and delicious.
- Let it Sit Before Serving: If your ice cream is too hard to scoop, let it sit at room temperature for a few minutes before serving. This will soften it slightly, making it easier to scoop.
By following these tips, you’ll be well on your way to creating the most delightful Creamy Vanilla Ice Cream. Enjoy the process and savor every scoop of your homemade treat!
Breakdown of Time for Creamy Vanilla Ice Cream
Prep Time
Preparing your Creamy Vanilla Ice Cream is a breeze! The prep time is approximately 15 minutes. This includes gathering your ingredients, mixing the base, and getting everything ready for churning. Make sure to have all your ingredients measured and within reach. This will make the process smooth and enjoyable!
Cooking Time
The cooking time, or rather the churning time, varies depending on your method. If you’re using an ice cream maker, it typically takes about 20 to 30 minutes to churn the mixture until it reaches a soft-serve consistency. If you’re opting for the no-machine method, you’ll need to stir the mixture every 30 minutes for about 2 to 3 hours. This helps break up ice crystals and ensures a creamy texture.
Total Time
In total, you should plan for about 4 to 5 hours to make your Creamy Vanilla Ice Cream. This includes the prep time, churning time, and the final freezing time of at least 4 hours. While it may seem like a long wait, the delicious reward is well worth it! Once your ice cream is fully frozen, you can enjoy it for days to come.
Nutritional Information for Creamy Vanilla Ice Cream
Calories
When indulging in a scoop of Creamy Vanilla Ice Cream, it’s good to know what you’re enjoying. On average, a half-cup serving of this delightful treat contains about 250 to 300 calories. This number can vary slightly based on the specific ingredients you use, especially if you opt for different brands of heavy cream or sugar. While it’s a sweet treat, enjoying it in moderation can fit nicely into a balanced diet.
Protein
Protein is an essential nutrient, and you’ll find a modest amount in your Creamy Vanilla Ice Cream. Each half-cup serving typically contains around 4 to 5 grams of protein. This protein comes mainly from the whole milk and heavy cream used in the recipe. While ice cream isn’t a primary source of protein, it can still contribute to your daily intake when enjoyed as part of a varied diet.
Sodium
Sodium levels in your Creamy Vanilla Ice Cream are relatively low, making it a guilt-free dessert option. A half-cup serving usually contains about 50 to 70 milligrams of sodium. This amount is quite manageable, especially when compared to many processed desserts. Keeping an eye on sodium intake is important, but you can enjoy this homemade ice cream without worrying too much about excess salt.
FAQs about Creamy Vanilla Ice Cream
Can I make Creamy Vanilla Ice Cream without an ice cream maker?
Absolutely! You can make Creamy Vanilla Ice Cream without an ice cream maker. Simply pour your mixed ice cream base into a shallow dish and place it in the freezer. Every 30 minutes, stir the mixture with a fork to break up any ice crystals. Repeat this process for about 2 to 3 hours until the ice cream reaches a creamy and firm consistency. This method is easy and still yields delicious results!
How long does Creamy Vanilla Ice Cream last in the freezer?
Your homemade Creamy Vanilla Ice Cream can last in the freezer for about 2 to 3 weeks. To keep it fresh, store it in an airtight container. This helps prevent ice crystals from forming and keeps your ice cream tasting great. However, for the best flavor and texture, try to enjoy it within the first week!
What can I do if my Creamy Vanilla Ice Cream is too hard?
If your Creamy Vanilla Ice Cream is too hard to scoop, don’t worry! Simply let it sit at room temperature for about 5 to 10 minutes. This will soften it slightly, making it easier to scoop. You can also run your ice cream scoop under warm water for a few seconds before scooping. This little trick can help you serve up those perfect scoops!
Can I use low-fat milk for Creamy Vanilla Ice Cream?
While you can use low-fat milk, it’s best to stick with whole milk for the creamiest texture. Low-fat milk will result in a less rich and creamy ice cream. If you want to reduce fat, consider using a combination of whole milk and a bit of low-fat milk. This way, you can still enjoy a deliciously creamy treat without sacrificing too much flavor!
Conclusion on Creamy Vanilla Ice Cream
In conclusion, making your own Creamy Vanilla Ice Cream is a delightful experience that brings joy to both the maker and the eater. With just a few simple ingredients, you can create a rich and velvety dessert that is perfect for any occasion. Whether you enjoy it on a hot summer day or as a comforting treat during colder months, this ice cream is sure to satisfy your sweet cravings.
Remember, the beauty of homemade ice cream lies in its versatility. You can customize it with various mix-ins and flavors, making it uniquely yours. From chocolate chips to fresh fruit, the options are endless! Plus, serving it with fun toppings or in creative ways can elevate your dessert experience even further.
As you embark on your ice cream-making journey, keep in mind the tips shared throughout this article. Quality ingredients, proper chilling, and patience during the freezing process are key to achieving that perfect scoop. So, gather your loved ones, whip up a batch of this Creamy Vanilla Ice Cream, and enjoy the laughter and smiles that come with sharing a delicious homemade treat.
Now that you have all the knowledge and inspiration, it’s time to get started! Treat yourself and your family to this delightful dessert, and savor every creamy, dreamy bite. Happy ice cream making!
Relevant Recipes Link:
Craving more delightful dessert options? Look no further for delicious treats:
- Homemade Vanilla Ice Cream: A Cool and Creamy Delight
- Mexican Fried Ice Cream: A Unique and Flavorful Dessert
- Creamy Chocolate Cake (No Bake): A Decadent Indulgence
For more fantastic recipes and food inspiration, follow us on Pinterest!