Introduction to Homemade Vanilla Ice Cream
The Allure of Homemade Ice Cream
There’s something magical about homemade ice cream. The creamy texture and rich flavor can’t be matched by store-bought varieties. When you make ice cream at home, you control every ingredient. This means you can create a dessert that’s not only delicious but also free from artificial additives. Plus, the process of making ice cream can be a fun activity for the whole family. Imagine the joy of scooping out your own creation on a hot summer day!
Why Choose Homemade Vanilla Ice Cream?
Homemade vanilla ice cream is a classic treat that never goes out of style. It’s versatile, too! You can enjoy it on its own or pair it with your favorite desserts. The simplicity of the ingredients makes it easy to whip up, even for beginners. With just a few pantry staples, you can create a delightful dessert that impresses everyone. And let’s not forget the satisfaction of serving something you made yourself. It’s a sweet way to show love to family and friends!
Ingredients for Homemade Vanilla Ice Cream
Creating your own homemade vanilla ice cream is simple and requires just a handful of ingredients. Each component plays a vital role in achieving that creamy, dreamy texture and rich flavor. Here’s what you’ll need:
- 2 cups heavy cream: This is the base of your ice cream. Heavy cream gives it that rich, velvety texture that makes every scoop a delight.
- 1 cup whole milk: Whole milk adds creaminess while balancing the richness of the heavy cream. It helps create a smooth consistency.
- 1/2 cup sugar: Sugar sweetens the ice cream and enhances the vanilla flavor. You can adjust the amount based on your taste preference.
- 1 tbsp pure vanilla extract: This is the star ingredient! Pure vanilla extract infuses your ice cream with a warm, aromatic flavor that’s simply irresistible.
- A pinch of salt: Salt enhances the sweetness and balances the flavors. It’s a small but important addition!
With these five simple ingredients, you’re well on your way to making a delicious batch of homemade vanilla ice cream. The best part? You can easily find them at your local grocery store. So, gather your ingredients and get ready to create a treat that everyone will love!
Step-by-Step Preparation of Homemade Vanilla Ice Cream
Step 1: Mix the Base for Homemade Vanilla Ice Cream
To start your homemade vanilla ice cream journey, you need to mix the base. Grab a large mixing bowl and whisk together the heavy cream, whole milk, sugar, vanilla extract, and a pinch of salt. Make sure to whisk until the sugar completely dissolves. This step is crucial because it ensures that your ice cream will be smooth and creamy. The mixture should be well combined and slightly frothy. Once you achieve this, you’re ready to move on to the next step!
Step 2: Churn the Ice Cream
Now comes the fun part—churning the ice cream! This process incorporates air into the mixture, giving it that light and fluffy texture we all love.
Using an Ice Cream Maker
If you have an ice cream maker, you’re in luck! Simply pour the prepared mixture into the machine. Follow the manufacturer’s instructions for churning time, usually around 20 to 30 minutes. You’ll know it’s ready when the ice cream thickens and has a soft-serve consistency. Once done, transfer it to a container for freezing.
No Ice Cream Machine? Here’s How!
No ice cream maker? No problem! You can still enjoy homemade vanilla ice cream. Pour the mixture into a shallow dish, like a baking pan. Place it in the freezer. Every 30 minutes, take it out and stir vigorously with a fork. This helps break up any ice crystals that form. Continue this process for about 3 hours, or until the ice cream is creamy and smooth. It’s a bit of extra work, but the results are worth it!
Step 3: Freeze & Serve Your Homemade Vanilla Ice Cream
After churning, it’s time to freeze your ice cream. Transfer the mixture to an airtight container. Cover it tightly and freeze for at least 4 hours. This allows the ice cream to firm up nicely. When you’re ready to serve, scoop out the creamy goodness and enjoy! You can serve it in bowls, cones, or even on top of your favorite desserts. The possibilities are endless!
Variations of Homemade Vanilla Ice Cream
Adding Mix-Ins to Your Homemade Vanilla Ice Cream
One of the best parts about making homemade vanilla ice cream is the ability to customize it. You can easily add mix-ins to create your own unique flavors. Here are some fun ideas:
- Chocolate Chips: Stir in semi-sweet or dark chocolate chips for a delightful crunch.
- Fruit: Fresh berries, sliced bananas, or diced peaches can add a refreshing twist. Just fold them in gently before freezing.
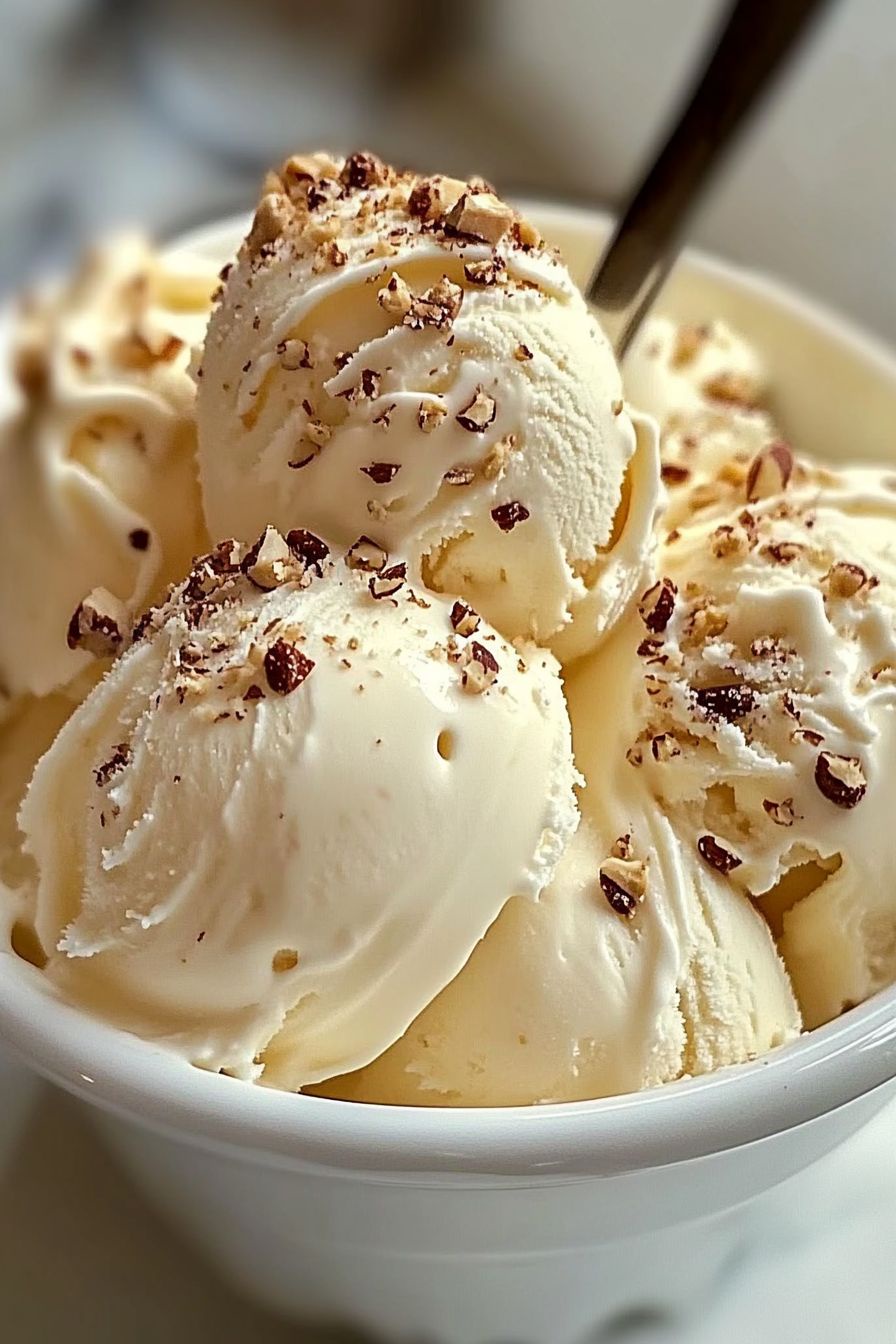
- Nuts: Chopped almonds, walnuts, or pecans provide a satisfying texture. Toast them lightly for extra flavor!
- Cookie Dough: Add small chunks of cookie dough for a fun treat. Just make sure the dough is safe to eat!
- Caramel Swirls: Drizzle caramel sauce into the mixture before freezing for a sweet surprise in every scoop.
Feel free to get creative! The options are endless, and you can mix and match to find your favorite combinations. Just remember to keep the total amount of mix-ins to about 1 to 1.5 cups to maintain the creamy texture of your ice cream.
Flavor Twists for Homemade Vanilla Ice Cream
If you’re looking to take your homemade vanilla ice cream to the next level, consider adding different flavors. Here are some ideas to inspire you:
- Chocolate: Add 1/2 cup of unsweetened cocoa powder to the base for a rich chocolate ice cream.
- Mint: Incorporate a few drops of peppermint extract for a refreshing minty flavor.
- Coffee: Mix in 1/2 cup of brewed coffee or espresso for a delightful coffee-flavored treat.
- Coconut: Add shredded coconut and a splash of coconut extract for a tropical twist.
- Almond: Substitute almond extract for vanilla extract for a nutty flavor that’s simply divine.
These flavor twists can transform your classic vanilla ice cream into something extraordinary. Experiment with different combinations to find your perfect scoop!
Cooking Note for Homemade Vanilla Ice Cream
When making homemade vanilla ice cream, a few cooking notes can help ensure your dessert turns out perfectly every time. First, always use high-quality ingredients. The better the ingredients, the better the flavor of your ice cream. Opt for pure vanilla extract instead of imitation vanilla for a richer taste. Additionally, make sure your heavy cream and milk are cold before mixing. This helps the mixture churn more effectively, resulting in a creamier texture.
Another important tip is to avoid over-churning your ice cream. If you’re using an ice cream maker, keep an eye on the consistency. Once it reaches a soft-serve texture, stop the machine. Over-churning can lead to a grainy texture, which is not what you want in a smooth ice cream.
If you’re using the no-machine method, remember to stir the mixture thoroughly every 30 minutes. This step is crucial for breaking up ice crystals and achieving that creamy consistency. If you skip this, you might end up with a block of ice instead of delicious ice cream!
Lastly, patience is key. Allow your ice cream to freeze for at least 4 hours before serving. This waiting time helps it firm up and develop the best flavor. So, while it may be tempting to dig in right away, waiting will be worth it for that perfect scoop of homemade vanilla ice cream!
Serving Suggestions for Homemade Vanilla Ice Cream
Now that you’ve made your delicious homemade vanilla ice cream, it’s time to think about how to serve it! This classic dessert is incredibly versatile and can be enjoyed in many delightful ways. Here are some serving suggestions to elevate your ice cream experience:
- Classic Bowls: Serve scoops of your homemade vanilla ice cream in simple bowls. Top with chocolate syrup, fresh fruit, or a sprinkle of nuts for added flavor and texture.
- Ice Cream Cones: Fill waffle or sugar cones with your creamy ice cream. This fun option is perfect for outdoor gatherings or summer parties!
- Ice Cream Sundaes: Create a sundae bar! Offer various toppings like whipped cream, sprinkles, and cherries. Let everyone build their own sundae masterpiece.
- On Desserts: Use your homemade vanilla ice cream as a topping for warm desserts. It pairs wonderfully with brownies, apple pie, or chocolate cake, creating a delightful contrast of temperatures.
- Milkshakes: Blend a scoop or two of your ice cream with milk for a rich and creamy milkshake. Add flavors like chocolate or strawberry for a fun twist!
- Affogato: Pour a shot of hot espresso over a scoop of vanilla ice cream for a delicious Italian treat. The hot coffee melts the ice cream slightly, creating a heavenly combination.
These serving suggestions can make your homemade vanilla ice cream even more enjoyable. Whether you’re hosting a party or just treating yourself, there’s a perfect way to serve this delightful dessert. So, scoop it up and enjoy every creamy bite!
Tips for Perfect Homemade Vanilla Ice Cream
Making homemade vanilla ice cream can be a delightful experience, but a few tips can help you achieve perfection. Here are some essential tips to ensure your ice cream turns out creamy, flavorful, and simply irresistible:
- Use Fresh Ingredients: Always opt for fresh, high-quality ingredients. Fresh heavy cream and whole milk will enhance the flavor and texture of your ice cream. Pure vanilla extract is a must for that authentic taste.
- Chill Your Mixture: Before churning, chill your ice cream base in the refrigerator for at least an hour. A colder mixture churns better, resulting in a smoother texture.
- Don’t Skip the Salt: A pinch of salt may seem small, but it plays a crucial role. It enhances the sweetness and balances the flavors, making your ice cream taste even better.
- Monitor Churning Time: If using an ice cream maker, keep an eye on the churning process. Stop once the mixture reaches a soft-serve consistency. Over-churning can lead to a grainy texture.
- Stir Regularly: If you’re using the no-machine method, remember to stir the mixture every 30 minutes. This helps break up ice crystals and keeps your ice cream creamy.
- Let It Firm Up: After churning, allow your ice cream to freeze for at least 4 hours. This step is essential for achieving the right consistency. Patience pays off!
- Experiment with Flavors: Don’t be afraid to get creative! Try adding different flavors or mix-ins to your base. Just remember to keep the total amount of add-ins to about 1 to 1.5 cups to maintain the creamy texture.
- Store Properly: When storing your ice cream, use an airtight container. This prevents ice crystals from forming and keeps your ice cream fresh. If possible, press a piece of plastic wrap directly onto the surface before sealing the container.
By following these tips, you’ll be well on your way to creating the perfect homemade vanilla ice cream. Each scoop will be a testament to your effort and love for this classic dessert. So, gather your ingredients, and let’s make some ice cream magic!
Breakdown of Time for Homemade Vanilla Ice Cream
Prep Time
Preparing your homemade vanilla ice cream is quick and easy! The prep time is just 10 minutes. During this time, you’ll gather your ingredients and mix them together. It’s a simple process that anyone can do. Just whisk the heavy cream, whole milk, sugar, vanilla extract, and salt until well combined. This short prep time makes it a perfect dessert for any occasion!
Cooking Time
When it comes to cooking time, there’s no actual cooking involved in this recipe. Instead, you’ll be churning the ice cream. If you’re using an ice cream maker, this process typically takes about 20 to 30 minutes. If you’re opting for the no-machine method, you’ll need to stir the mixture every 30 minutes for about 3 hours. This helps achieve that creamy texture we all love. So, while there’s no cooking time, the churning and stirring are essential for the perfect ice cream!
Total Time
The total time for making homemade vanilla ice cream is approximately 4 hours and 20 minutes. This includes the 10 minutes of prep time, the churning time, and the freezing time. After mixing your ingredients, you’ll need to freeze the ice cream for at least 4 hours to let it firm up. While it may take some time, the wait is worth it for that delicious, creamy treat. So, plan ahead and enjoy the delightful results of your homemade vanilla ice cream!
Nutritional Information for Homemade Vanilla Ice Cream
Calories in Homemade Vanilla Ice Cream
When indulging in homemade vanilla ice cream, it’s good to know what you’re enjoying. Each serving of this delightful treat contains approximately 280 calories. This calorie count comes from the rich ingredients like heavy cream and sugar, which contribute to its creamy texture and sweet flavor. While it’s a delicious dessert, moderation is key. Enjoying a scoop or two on special occasions can be a delightful way to treat yourself without overindulging.
Protein Content in Homemade Vanilla Ice Cream
In addition to its creamy goodness, homemade vanilla ice cream also provides some protein. Each serving contains about 4 grams of protein. This protein mainly comes from the whole milk and heavy cream used in the recipe. While it’s not a significant source of protein, every little bit helps! Pairing your ice cream with a protein-rich dessert, like a slice of cake or a brownie, can create a balanced treat that satisfies your sweet tooth.
Sodium Levels in Homemade Vanilla Ice Cream
Another important aspect to consider is the sodium content. Each serving of homemade vanilla ice cream has about 50 milligrams of sodium. This is relatively low, especially when compared to many store-bought ice creams that can contain higher levels of sodium due to preservatives and additives. The pinch of salt in the recipe enhances the flavor without adding too much sodium. So, you can enjoy your homemade treat with peace of mind!
FAQs About Homemade Vanilla Ice Cream
Can I make homemade vanilla ice cream without an ice cream maker?
Absolutely! You can make delicious homemade vanilla ice cream without an ice cream maker. Just follow the no-machine method. Pour your ice cream mixture into a shallow dish and place it in the freezer. Every 30 minutes, take it out and stir vigorously with a fork. This helps break up ice crystals and keeps your ice cream creamy. Continue this process for about 3 hours, and you’ll have a delightful treat ready to enjoy!
How long does homemade vanilla ice cream last in the freezer?
Homemade vanilla ice cream can last in the freezer for about 2 to 3 weeks. To keep it fresh, store it in an airtight container. If you want to prevent ice crystals from forming, press a piece of plastic wrap directly onto the surface of the ice cream before sealing the container. This will help maintain its creamy texture and delicious flavor for as long as possible!
What can I do if my homemade vanilla ice cream is too hard?
If your homemade vanilla ice cream is too hard, don’t worry! Simply take it out of the freezer and let it sit at room temperature for about 10 to 15 minutes. This will soften it up, making it easier to scoop. If you find it’s still too hard, you can also stir it gently with a fork to break up any ice crystals. This will help restore that creamy texture you love!
Can I use different types of milk for homemade vanilla ice cream?
Yes, you can use different types of milk to make homemade vanilla ice cream! While whole milk and heavy cream are recommended for the best texture, you can experiment with alternatives. For a lighter version, try using 2% milk or half-and-half. If you prefer non-dairy options, almond milk, coconut milk, or oat milk can work well too. Just keep in mind that the flavor and texture may vary slightly based on the milk you choose!
Conclusion on Homemade Vanilla Ice Cream
In conclusion, making homemade vanilla ice cream is a delightful experience that brings joy to both the maker and the eater. With just a few simple ingredients, you can create a creamy, rich dessert that is perfect for any occasion. Whether you choose to use an ice cream maker or the no-machine method, the results are sure to impress.
Not only is homemade vanilla ice cream delicious, but it also allows for endless customization. You can add mix-ins, try different flavors, or serve it in various ways. The possibilities are as vast as your imagination! Plus, the satisfaction of creating something from scratch adds a special touch to this classic treat.
So, gather your ingredients, follow the steps, and enjoy the process of making your own homemade vanilla ice cream. It’s a sweet way to create lasting memories with family and friends. Whether you’re enjoying a scoop on a hot summer day or using it to top off a warm dessert, this homemade treat is sure to bring smiles all around. Happy ice cream making!