Introduction to Scarlet Cocoa Serenade Ice Cream
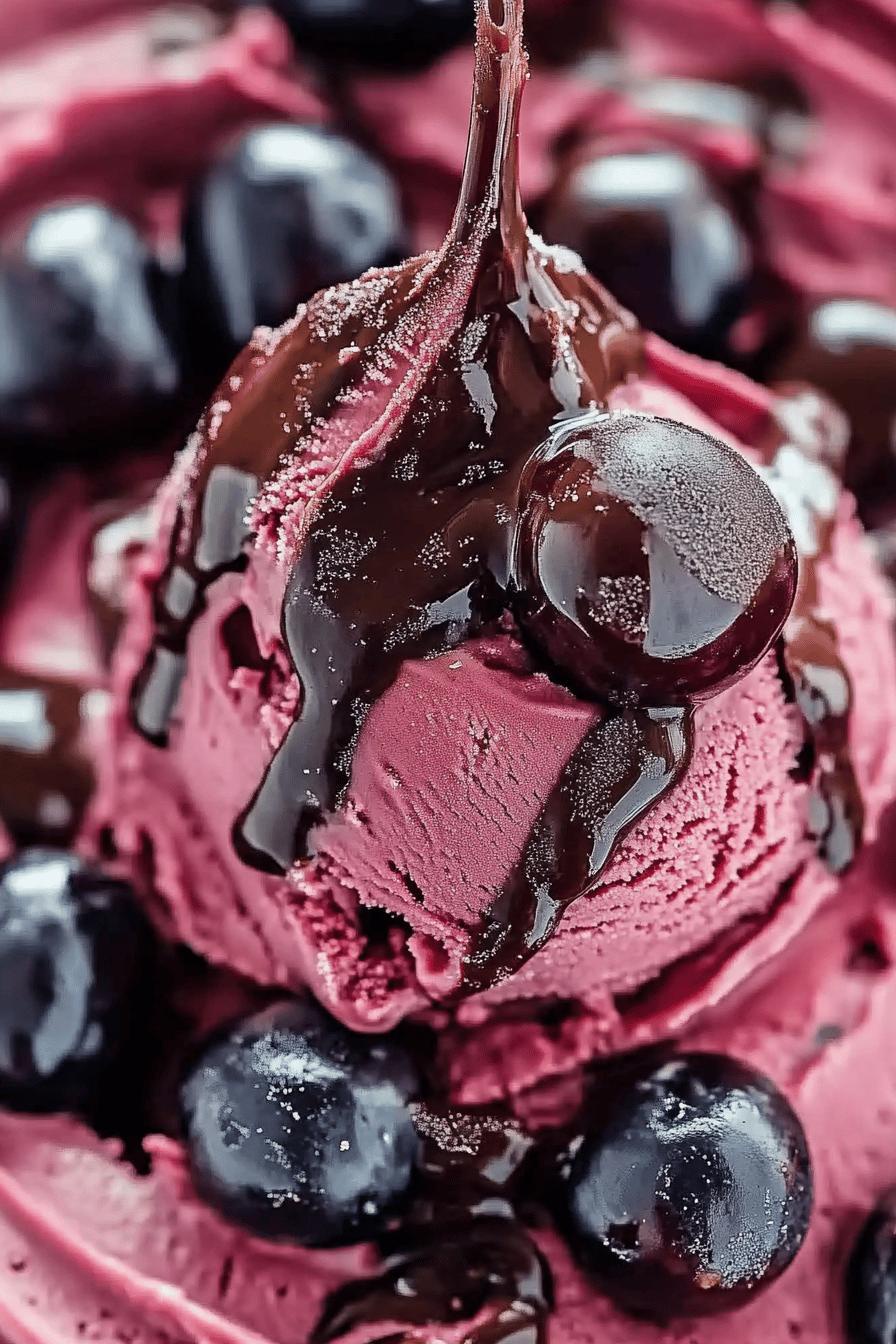
Welcome to the delightful world of homemade ice cream! Today, we’re diving into a treat that will make your taste buds dance with joy: Scarlet Cocoa Serenade Ice Cream. This dessert is not just any ordinary ice cream; it’s a beautiful blend of rich chocolate and sweet cherries. Imagine a creamy scoop that melts in your mouth, leaving behind a burst of flavor. Sounds tempting, right? Let’s explore what makes this ice cream so special and why it’s perfect for any occasion.
What Makes Scarlet Cocoa Serenade Ice Cream Special?
Scarlet Cocoa Serenade Ice Cream stands out for several reasons. First, the combination of chocolate and cherry creates a unique flavor profile that is both indulgent and refreshing. The deep, rich cocoa pairs perfectly with the tartness of cherries, making each bite a delightful experience. Additionally, the creamy texture comes from using heavy cream and whole milk, which gives it that luxurious feel. This ice cream is not just a dessert; it’s a celebration of flavors that will leave you wanting more!
The Perfect Dessert for Any Occasion
Whether you’re hosting a summer barbecue, celebrating a birthday, or simply treating yourself after a long day, Scarlet Cocoa Serenade Ice Cream is the ideal dessert. Its vibrant color and delicious taste make it a showstopper at any gathering. Plus, it’s easy to make, so you can whip it up in no time. Serve it in a bowl, or get creative with cones and toppings. No matter how you present it, this ice cream is sure to impress your family and friends!
Ingredients for Scarlet Cocoa Serenade Ice Cream
To create the delightful Scarlet Cocoa Serenade Ice Cream, you’ll need a few simple yet essential ingredients. Each component plays a vital role in achieving that creamy texture and rich flavor. Here’s what you’ll need:
- 2 cups heavy cream: This is the base of your ice cream, providing a rich and velvety texture.
- 1 cup whole milk: Whole milk adds creaminess and balances the richness of the heavy cream.
- 3/4 cup granulated sugar: Sugar sweetens the mixture and enhances the flavors of chocolate and cherry.
- 1 cup fresh or frozen cherries: Cherries add a fruity burst and a beautiful color to the ice cream.
- 1/2 cup unsweetened cocoa powder: This gives the ice cream its chocolatey goodness.
- 1 teaspoon vanilla extract: Vanilla enhances the overall flavor, making it even more delicious.
- Pinch of salt: A little salt helps to balance the sweetness and brings out the flavors.
Gather these ingredients before you start, and you’ll be on your way to making a delightful frozen treat. Each ingredient contributes to the overall taste and texture, ensuring that every scoop of Scarlet Cocoa Serenade Ice Cream is a delightful experience!
Step-by-Step Preparation of Scarlet Cocoa Serenade Ice Cream
Now that you have all your ingredients ready, it’s time to dive into the fun part: making your Scarlet Cocoa Serenade Ice Cream! Follow these simple steps to create a delicious treat that will impress everyone.
Step 1: Gather Your Ingredients
Before you start, make sure you have everything you need. Gather your heavy cream, whole milk, granulated sugar, cherries, cocoa powder, vanilla extract, and a pinch of salt. Having everything in one place will make the process smoother and more enjoyable!
Step 2: Prepare the Cherry and Chocolate Mixture
Next, it’s time to prepare the cherry and chocolate mixture. If you’re using fresh cherries, wash them thoroughly and remove the pits. For frozen cherries, just let them thaw a bit. In a blender or food processor, combine the cherries and cocoa powder. Blend until you have a smooth mixture. This step is crucial as it ensures that the flavors meld beautifully together.
Step 3: Combine Cream and Milk
In a large mixing bowl, pour in the heavy cream and whole milk. Use a whisk to combine them well. This mixture will serve as the creamy base for your ice cream. Whisking helps to incorporate air, making your ice cream light and fluffy.
Step 4: Mix in Sugar and Flavorings
Now, it’s time to sweeten things up! Add the granulated sugar, vanilla extract, and a pinch of salt to the cream and milk mixture. Stir well until the sugar is completely dissolved. This step is important because it enhances the overall flavor of your ice cream, making it even more delightful.
Step 5: Churn the Mixture
Once your mixtures are ready, it’s time to combine them. Pour the cherry and chocolate mixture into the cream mixture. Stir gently to combine everything. Now, transfer this mixture into your ice cream maker. Follow the manufacturer’s instructions to churn the ice cream until it reaches a soft-serve consistency. This usually takes about 20 to 25 minutes.
Step 6: Freeze the Ice Cream
After churning, your ice cream will be soft and creamy. To achieve that perfect scoopable texture, transfer it to an airtight container. Smooth the top with a spatula and cover it tightly. Place the container in the freezer for at least 4 hours, or until it’s firm. Patience is key here, but the wait will be worth it!
Step 7: Serve and Enjoy
Finally, it’s time to enjoy your homemade Scarlet Cocoa Serenade Ice Cream! Scoop it into bowls or cones, and feel free to add your favorite toppings. Whether it’s chocolate syrup, whipped cream, or extra cherries, the choice is yours. Each scoop will be a delightful experience, bursting with flavor!
Variations of Scarlet Cocoa Serenade Ice Cream
While the classic Scarlet Cocoa Serenade Ice Cream is a treat on its own, there are many fun ways to mix things up! By adding different fruits or experimenting with various types of chocolate, you can create your own unique version of this delicious dessert. Let’s explore some exciting variations that will keep your taste buds guessing!
Adding Different Fruits
One of the easiest ways to customize your ice cream is by adding different fruits. While cherries are the star of the show, you can try other fruits for a delightful twist. Here are some ideas:
- Raspberries: Their tartness pairs beautifully with chocolate, creating a vibrant flavor.
- Strawberries: Sweet and juicy, strawberries add a lovely color and taste to the mix.
- Blueberries: These little gems bring a burst of sweetness and a pop of color.
- Bananas: For a creamier texture, blend in ripe bananas for a tropical touch.
Feel free to mix and match! You can even create a fruit medley for a colorful and flavorful ice cream experience. Just remember to adjust the sugar level based on the sweetness of the fruit you choose.
Experimenting with Chocolate Types
Chocolate lovers rejoice! You can take your Scarlet Cocoa Serenade Ice Cream to the next level by experimenting with different types of chocolate. Here are some options to consider:
- Dark Chocolate: For a richer flavor, use dark chocolate cocoa powder. It adds depth and a slight bitterness that balances the sweetness.
- Milk Chocolate: If you prefer a sweeter taste, milk chocolate cocoa powder will give your ice cream a creamy and sweet profile.
- White Chocolate: For a unique twist, try adding melted white chocolate. It creates a smooth and sweet base that pairs well with fruity flavors.
- Chocolate Chips: Mix in chocolate chips or chunks for added texture and bursts of chocolate in every bite.
By playing with different chocolate types, you can create a variety of flavors that will keep your ice cream exciting and delicious. Don’t be afraid to get creative!
Cooking Note for Scarlet Cocoa Serenade Ice Cream
When making Scarlet Cocoa Serenade Ice Cream, a few cooking notes can help ensure your dessert turns out perfectly. First, always use high-quality ingredients. The better the ingredients, the richer and more flavorful your ice cream will be. Opt for fresh cherries when in season, as they provide the best taste and texture. If using frozen cherries, make sure they are unsweetened to maintain the right balance of flavors.
Another important tip is to chill your mixing bowl and ice cream maker bowl before starting. This helps the mixture freeze faster, resulting in a creamier texture. Additionally, if you find your ice cream mixture is too thick, you can add a splash of milk to achieve the desired consistency before churning.
Lastly, remember that homemade ice cream can be softer than store-bought varieties. If you prefer a firmer texture, allow it to freeze for a longer period after churning. Just be sure to let it sit at room temperature for a few minutes before serving, as this will make scooping easier.
By keeping these cooking notes in mind, you’ll be well on your way to creating a delightful batch of Scarlet Cocoa Serenade Ice Cream that everyone will love!
Serving Suggestions for Scarlet Cocoa Serenade Ice Cream
Now that you’ve made your delicious Scarlet Cocoa Serenade Ice Cream, it’s time to think about how to serve it! The right toppings and presentation can elevate your dessert experience. Here are some delightful serving suggestions that will make your ice cream even more enjoyable.
Pairing with Toppings
Toppings can add texture and flavor to your ice cream, making each scoop even more exciting. Here are some tasty options to consider:
- Chocolate Syrup: Drizzle some rich chocolate syrup over your ice cream for an extra chocolatey kick.
- Whipped Cream: A dollop of whipped cream adds a light and fluffy texture that complements the creaminess of the ice cream.
- Chopped Nuts: Sprinkle some chopped almonds, walnuts, or pecans for a crunchy contrast to the smooth ice cream.
- Fresh Cherries: Top your ice cream with fresh cherries for a burst of fruity flavor and a beautiful presentation.
- Sprinkles: Add colorful sprinkles for a fun and festive touch, perfect for parties or celebrations.
Feel free to mix and match these toppings to create your perfect scoop. The combination of flavors and textures will make your Scarlet Cocoa Serenade Ice Cream even more delightful!
Creative Serving Ideas
Presentation is key when serving ice cream. Here are some creative ideas to make your dessert stand out:
- Ice Cream Sundae: Create a classic sundae by layering your ice cream with toppings in a tall glass. Add whipped cream, chocolate syrup, and a cherry on top for a stunning dessert.
- Ice Cream Sandwiches: Scoop the ice cream between two cookies for a fun and portable treat. Chocolate chip or oatmeal cookies work wonderfully!
- Milkshake: Blend a scoop of your ice cream with milk for a delicious milkshake. Top it with whipped cream and a cherry for a classic diner feel.
- Ice Cream Float: Pour soda or sparkling water over a scoop of ice cream in a glass for a refreshing float. Root beer or cherry soda pairs perfectly!
- Chocolate-Covered Cones: Dip the edges of ice cream cones in melted chocolate and let them harden. Fill them with your Scarlet Cocoa Serenade Ice Cream for a fun twist.
These creative serving ideas will not only make your dessert look appealing but also enhance the overall experience. Enjoy your Scarlet Cocoa Serenade Ice Cream in style!
Tips for Making the Best Scarlet Cocoa Serenade Ice Cream
Creating the perfect Scarlet Cocoa Serenade Ice Cream is all about the details. With a few helpful tips, you can elevate your homemade ice cream to a whole new level. Let’s explore how to choose the right ingredients and store your delicious creation for maximum enjoyment!
Choosing the Right Ingredients
The quality of your ingredients plays a crucial role in the final taste of your ice cream. Here are some tips to help you select the best components:
- Heavy Cream: Opt for heavy cream with a high fat content (at least 36%). This ensures a rich and creamy texture.
- Whole Milk: Always choose whole milk for a creamier base. Low-fat or skim milk will result in a less satisfying texture.
- Granulated Sugar: Use fine granulated sugar for easy dissolving. You can also experiment with brown sugar for a deeper flavor.
- Fresh Cherries: If possible, use fresh, ripe cherries. They provide the best flavor and texture. If using frozen, ensure they are unsweetened.
- Cocoa Powder: Select high-quality unsweetened cocoa powder. Dutch-processed cocoa can add a smoother taste, while natural cocoa offers a more robust flavor.
- Vanilla Extract: Always choose pure vanilla extract over imitation for a more authentic flavor.
By carefully selecting your ingredients, you’ll create a Scarlet Cocoa Serenade Ice Cream that is truly exceptional!
Storage Tips for Homemade Ice Cream
Once you’ve made your delicious ice cream, proper storage is key to maintaining its quality. Here are some tips to keep your Scarlet Cocoa Serenade Ice Cream fresh:
- Airtight Container: Store your ice cream in an airtight container to prevent ice crystals from forming. This helps maintain a smooth texture.
- Plastic Wrap: For extra protection, press a piece of plastic wrap directly onto the surface of the ice cream before sealing the container. This minimizes air exposure.
- Freezer Temperature: Ensure your freezer is set to 0°F (-18°C) or lower. This keeps your ice cream firm and prevents it from becoming too soft.
- Labeling: Don’t forget to label your container with the date. Homemade ice cream is best enjoyed within 2 to 3 weeks for optimal flavor and texture.
- Let it Sit: Before serving, let your ice cream sit at room temperature for a few minutes. This makes scooping easier and enhances the flavor.
By following these storage tips, you can enjoy your Scarlet Cocoa Serenade Ice Cream at its best, scoop after scoop!
Breakdown of Time for Scarlet Cocoa Serenade Ice Cream
When making Scarlet Cocoa Serenade Ice Cream, it’s helpful to know how much time you’ll need for each step. This way, you can plan your day and enjoy the process of creating this delicious treat. Here’s a breakdown of the time required for each part of the recipe:
Prep Time
The prep time for this delightful ice cream is approximately 20 minutes. This includes gathering your ingredients, washing and pitting the cherries, and blending the cherry and chocolate mixture. Taking your time during this step ensures that everything is ready for the next stages of the recipe.
Cooking Time
Cooking time, or rather churning time, is about 25 minutes. This is when you’ll combine the cherry and chocolate mixture with the cream and milk, then churn it in your ice cream maker. The churning process is essential for achieving that creamy texture we all love in ice cream.
Total Time
In total, you should expect to spend around 45 minutes actively preparing your ice cream. However, don’t forget to factor in the freezing time! After churning, you’ll need to freeze the ice cream for at least 4 hours to achieve the perfect scoopable consistency. So, while the active time is short, the total time from start to finish is about 4 hours and 45 minutes. But trust us, the wait will be worth it when you take that first delicious scoop!
Nutritional Information for Scarlet Cocoa Serenade Ice Cream
Understanding the nutritional content of your homemade Scarlet Cocoa Serenade Ice Cream can help you enjoy it even more. While this dessert is a treat, knowing what’s in it can assist you in making informed choices. Here’s a breakdown of the key nutritional components per serving (approximately 1/2 cup):
Calories
Each serving of Scarlet Cocoa Serenade Ice Cream contains about 250 calories. This calorie count comes from the rich ingredients like heavy cream, whole milk, and sugar. While it’s a delightful indulgence, it’s good to enjoy it in moderation, especially if you’re watching your calorie intake.
Protein
This ice cream offers around 4 grams of protein per serving. The protein primarily comes from the milk and cream used in the recipe. Protein is essential for your body, helping with muscle repair and growth, making this treat a bit more satisfying!
Sodium
Scarlet Cocoa Serenade Ice Cream contains approximately 50 milligrams of sodium per serving. This amount is relatively low, especially considering that sodium is often found in higher quantities in processed foods. The pinch of salt added to the recipe helps enhance the flavors without significantly increasing the sodium content.
Overall, while Scarlet Cocoa Serenade Ice Cream is a delicious dessert, it’s important to enjoy it as part of a balanced diet. With its rich flavors and creamy texture, it’s a delightful way to treat yourself on special occasions or hot summer days!
FAQs about Scarlet Cocoa Serenade Ice Cream
Can I use low-fat milk instead of whole milk?
While you can use low-fat milk, it’s not recommended for the best results. Whole milk provides a creamier texture and richer flavor, which is essential for a delightful ice cream experience. If you want to reduce fat, consider using a mix of whole milk and a little bit of low-fat milk instead. This way, you can still enjoy a creamy treat without sacrificing too much flavor!
How long can I store Scarlet Cocoa Serenade Ice Cream?
You can store your Scarlet Cocoa Serenade Ice Cream in the freezer for about 2 to 3 weeks. To keep it fresh, make sure to use an airtight container. For the best taste and texture, try to enjoy it within this time frame. After a few weeks, the ice cream may develop ice crystals, which can affect its creaminess.
Can I make this ice cream without an ice cream maker?
Absolutely! If you don’t have an ice cream maker, you can still make Scarlet Cocoa Serenade Ice Cream. After mixing all the ingredients, pour the mixture into a shallow dish. Place it in the freezer and stir every 30 minutes for about 3 to 4 hours. This will help break up ice crystals and create a smoother texture. It may take a bit longer, but you’ll still end up with a delicious treat!
What are some good toppings for Scarlet Cocoa Serenade Ice Cream?
There are plenty of tasty toppings that pair wonderfully with Scarlet Cocoa Serenade Ice Cream! Here are some popular options:
- Chocolate Syrup: A classic choice that adds extra chocolatey goodness.
- Chopped Nuts: Almonds, walnuts, or pecans add a nice crunch.
- Fresh Berries: Raspberries or strawberries complement the cherry flavor beautifully.
- Whipped Cream: A dollop of whipped cream makes everything feel more indulgent.
- Sprinkles: Colorful sprinkles can make your dessert fun and festive!
Feel free to mix and match these toppings to create your perfect scoop. Enjoy your ice cream adventure!
Conclusion: Why You Should Try Scarlet Cocoa Serenade Ice Cream Today
In conclusion, Scarlet Cocoa Serenade Ice Cream is more than just a dessert; it’s an experience that brings joy and satisfaction with every scoop. The delightful combination of rich chocolate and sweet cherries creates a flavor profile that is both unique and indulgent. Whether you’re enjoying it on a hot summer day or celebrating a special occasion, this homemade ice cream is sure to impress.
Making your own ice cream allows you to control the ingredients, ensuring that you create a treat that is not only delicious but also made with love. The simple steps outlined in this recipe make it easy for anyone to whip up a batch of this creamy delight. Plus, with the ability to customize flavors and toppings, the possibilities are endless!
So why wait? Gather your ingredients and start your ice cream-making adventure today. Your taste buds will thank you for the luscious experience of Scarlet Cocoa Serenade Ice Cream. It’s a sweet treat that promises to bring smiles and satisfaction to everyone who tries it. Enjoy the process, share it with loved ones, and savor every delightful bite!
Craving more chocolatey delights? Indulge in these irresistible recipes:
- Decadent Chocolate Ice Cream: A Must-Try Treat
- Divine Cocoa Serenade Cake: A Chocolate Lover’s Dream
- Crimson Cocoa Rhapsody Ice Cream: A Must-Try Delight
For more amazing recipes and food inspiration, follow us on Pinterest!