Introduction to Old Fashioned Chocolate Pie
The Allure of Old Fashioned Chocolate Pie
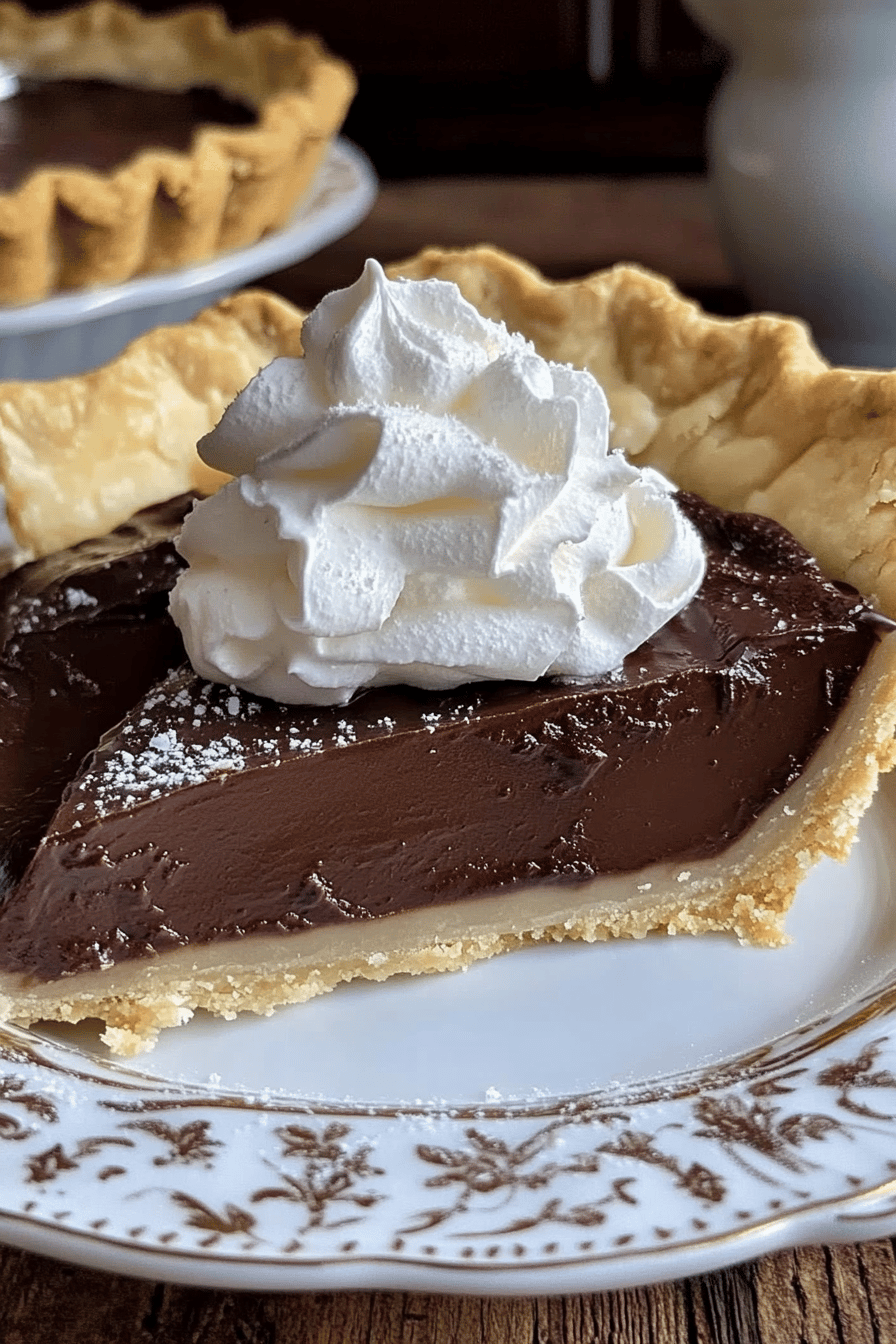
There’s something magical about a slice of Old Fashioned Chocolate Pie. This delightful dessert brings back memories of family gatherings and cozy evenings. The rich aroma of chocolate fills the air, inviting everyone to indulge. With its creamy filling and flaky crust, this pie is a true comfort food.
What makes this pie so special? It’s the combination of simple ingredients that come together to create a heavenly treat. The cocoa filling is smooth and luscious, while the crust adds a satisfying crunch. Each bite is a perfect balance of sweetness and richness, making it hard to resist.
Moreover, Old Fashioned Chocolate Pie is not just a dessert; it’s a tradition. Many families have their own versions, passed down through generations. This recipe is easy to follow, ensuring that anyone can create this classic dessert at home. Whether you’re celebrating a special occasion or just want to treat yourself, this pie is sure to impress.
So, gather your ingredients and get ready to whip up a delicious Old Fashioned Chocolate Pie. Your taste buds will thank you!
Ingredients for Old Fashioned Chocolate Pie
To create the delightful Old Fashioned Chocolate Pie, you’ll need a few simple ingredients. Each one plays a crucial role in achieving that rich, creamy filling and flaky crust. Here’s what you’ll need:
- For the Pie Crust:
- 1 ½ cups all-purpose flour
- ½ cup unsalted butter, chilled and diced
- 1/4 cup granulated sugar
- 1/4 teaspoon salt
- 3 to 4 tablespoons ice water
- For the Chocolate Filling:
- 1 cup granulated sugar
- 1/3 cup unsweetened cocoa powder
- 1/4 cup cornstarch
- 1/4 teaspoon salt
- 2 ¾ cups milk
- 3 large egg yolks, beaten
- 2 tablespoons unsalted butter
- 1 teaspoon vanilla extract
These ingredients are easy to find and often already in your kitchen. The combination of the buttery crust and the rich chocolate filling creates a dessert that is both comforting and indulgent. Make sure to gather everything before you start, as this will help streamline the preparation process.
Now that you have your ingredients ready, let’s move on to the next step: preparing the pie crust!
Step-by-Step Preparation of Old Fashioned Chocolate Pie
Step 1: Preparing the Pie Crust
To start, let’s focus on the pie crust. A flaky crust is the foundation of any great pie. First, in a large bowl, combine the all-purpose flour, granulated sugar, and salt. Mix these dry ingredients well. Next, add the chilled, diced butter. Use a pastry cutter or your fingers to blend the butter into the flour mixture. You want it to resemble coarse crumbs.
Once the butter is mixed in, gradually add ice water, one tablespoon at a time. Mix until the dough holds together but is not sticky. Be careful not to overwork the dough. Form it into a ball, then flatten it into a disk. Wrap it in plastic wrap and refrigerate for at least 30 minutes. This chilling time helps the crust become tender and flaky.
Step 2: Making the Chocolate Filling
While the crust chills, let’s prepare the chocolate filling. In a medium saucepan, whisk together the granulated sugar, cocoa powder, cornstarch, and salt. This dry mixture is essential for a smooth filling. Gradually stir in the milk, ensuring there are no lumps. Place the saucepan over medium heat and cook, stirring constantly.
As the mixture heats, it will begin to thicken. Once it starts bubbling, continue to cook for another minute. Remove the saucepan from the heat. In a separate bowl, beat the egg yolks. Slowly add a small amount of the hot chocolate mixture to the egg yolks, whisking constantly. This step is crucial to prevent the eggs from scrambling.
Now, pour the egg mixture back into the saucepan. Stir in the butter and vanilla extract. Mix until everything is well combined and smooth. Your chocolate filling is now ready!
Step 3: Assembling the Pie
After the crust has chilled, it’s time to assemble your pie. Preheat your oven to 350°F (175°C). Roll out the chilled dough on a floured surface until it’s about 1/8 inch thick. Carefully transfer the rolled dough to a 9-inch pie pan. Trim any excess dough hanging over the edges, and crimp the edges for a decorative touch.
Next, pour the chocolate filling into the prepared crust. Spread it evenly with a spatula. This filling is rich and creamy, so make sure it’s well distributed. Now, it’s time to bake!
Step 4: Baking the Old Fashioned Chocolate Pie
Place the pie in the preheated oven and bake for 30 to 35 minutes. The filling should be set but still slightly jiggly in the center. This is normal, as it will firm up as it cools. Once baked, remove the pie from the oven and let it cool on a wire rack. Cooling allows the flavors to meld beautifully.
After the pie has cooled to room temperature, you can refrigerate it for a few hours or overnight. This chilling step enhances the flavor and texture, making each slice even more delightful. Now, your Old Fashioned Chocolate Pie is ready to be served!
Variations of Old Fashioned Chocolate Pie
Adding Flavors to Old Fashioned Chocolate Pie
While the classic Old Fashioned Chocolate Pie is delicious on its own, you can easily add a twist to make it even more exciting. Here are some fun flavor variations to consider:
- Mint Chocolate: Add 1 teaspoon of peppermint extract to the chocolate filling. This refreshing flavor pairs beautifully with chocolate.
- Espresso Chocolate: Mix in 1 tablespoon of instant espresso powder with the cocoa powder. This will give your pie a rich coffee flavor that chocolate lovers will adore.
- Peanut Butter Swirl: Before baking, drop spoonfuls of creamy peanut butter into the chocolate filling. Use a knife to swirl it gently for a delightful combination.
- Orange Zest: Add the zest of one orange to the filling for a bright, citrusy note that complements the chocolate perfectly.
These variations can elevate your Old Fashioned Chocolate Pie, making it a unique dessert for any occasion. Feel free to experiment with different flavors to find your favorite combination!
Alternative Crust Options for Old Fashioned Chocolate Pie
If you’re looking to switch things up, consider trying different crust options for your Old Fashioned Chocolate Pie. Here are a few alternatives:
- Graham Cracker Crust: For a no-bake option, crush graham crackers and mix them with melted butter and sugar. Press the mixture into a pie pan and chill until firm.
- Chocolate Cookie Crust: Use crushed chocolate cookies, like Oreos, mixed with butter to create a rich chocolate crust that enhances the pie’s flavor.
- Almond Flour Crust: For a gluten-free option, combine almond flour, butter, and a bit of sugar. This nutty crust adds a unique taste and texture.
- Shortbread Crust: A buttery shortbread crust can add a delightful crunch and a hint of sweetness to your pie.
These alternative crusts can bring new textures and flavors to your Old Fashioned Chocolate Pie. Choose one that suits your taste or dietary needs, and enjoy a delicious twist on this classic dessert!
Cooking Note for Old Fashioned Chocolate Pie
When making Old Fashioned Chocolate Pie, a few cooking notes can help ensure your dessert turns out perfectly every time. First, pay attention to the temperature of your ingredients. Using chilled butter for the crust is essential for achieving that flaky texture. Similarly, make sure your eggs are at room temperature before adding them to the filling. This helps them blend smoothly into the mixture.
Another important tip is to stir the chocolate filling constantly while it cooks. This prevents lumps from forming and ensures a silky-smooth texture. If you notice any lumps, you can strain the filling through a fine-mesh sieve before pouring it into the crust. This extra step guarantees a creamy filling that everyone will love.
Also, keep an eye on the baking time. Every oven is different, so your pie may need a little more or less time than the recipe suggests. The filling should be set but still have a slight jiggle in the center when you take it out. This indicates that it will firm up as it cools.
Lastly, patience is key! Allow the pie to cool completely before slicing. This helps the filling set properly, making it easier to cut clean slices. If you can, refrigerate the pie for a few hours or overnight. This chilling time enhances the flavors and makes the pie even more enjoyable.
By following these cooking notes, you’ll create a delightful Old Fashioned Chocolate Pie that’s sure to impress your family and friends. Happy baking!
Serving Suggestions for Old Fashioned Chocolate Pie
Pairing Old Fashioned Chocolate Pie with Toppings
Serving your Old Fashioned Chocolate Pie is just as important as making it. The right toppings can elevate this classic dessert to new heights. Here are some delightful suggestions to consider:
- Whipped Cream: A dollop of freshly whipped cream adds a light and airy contrast to the rich chocolate filling. You can sweeten the cream with a bit of sugar and vanilla for extra flavor.
- Chocolate Shavings: For a touch of elegance, sprinkle chocolate shavings on top. Use a vegetable peeler to create thin curls from a chocolate bar. This adds a beautiful presentation and enhances the chocolate flavor.
- Fresh Berries: Serve your pie with a side of fresh berries, like raspberries or strawberries. Their tartness balances the sweetness of the pie, creating a delightful combination.
- Caramel Sauce: Drizzle warm caramel sauce over each slice for a decadent treat. The sweet, buttery flavor of caramel pairs wonderfully with chocolate.
- Ice Cream: A scoop of vanilla or chocolate ice cream on the side makes for a classic pairing. The cold ice cream melts slightly against the warm pie, creating a delicious contrast.
Feel free to mix and match these toppings to find your perfect combination. Each addition brings its own unique flavor and texture, making your Old Fashioned Chocolate Pie even more enjoyable. Whether it’s a family dinner or a special occasion, these serving suggestions will impress your guests and make your dessert unforgettable!
Tips for Perfecting Old Fashioned Chocolate Pie
Creating the perfect Old Fashioned Chocolate Pie is an art that can be mastered with a few helpful tips. Whether you’re a seasoned baker or a novice, these suggestions will ensure your pie turns out delicious every time.
First, always measure your ingredients accurately. Baking is a science, and even a small deviation can affect the outcome. Use a kitchen scale for precise measurements, especially for flour and sugar. This will help you achieve the right texture and flavor.
Next, when preparing the pie crust, avoid overworking the dough. Overmixing can lead to a tough crust instead of a flaky one. Mix just until the ingredients come together, and remember to keep your butter cold. This is key to achieving that desired flakiness.
For the chocolate filling, make sure to whisk constantly while cooking. This prevents the mixture from sticking to the bottom of the pan and ensures a smooth consistency. If you notice any lumps, don’t hesitate to strain the filling before pouring it into the crust. This extra step guarantees a silky texture.
Another tip is to let the pie cool completely before slicing. This allows the filling to set properly, making it easier to cut neat slices. If you can, refrigerate the pie for a few hours or overnight. Chilling enhances the flavors and makes the pie even more enjoyable.
Lastly, don’t be afraid to experiment! While the classic recipe is delightful, trying out different flavors or crusts can lead to exciting new variations. Whether it’s adding a hint of mint or using a graham cracker crust, your creativity can make this dessert uniquely yours.
By following these tips, you’ll be well on your way to perfecting your Old Fashioned Chocolate Pie. Enjoy the process, and most importantly, savor every delicious bite!
Breakdown of Time for Old Fashioned Chocolate Pie
Prep Time for Old Fashioned Chocolate Pie
Preparing the Old Fashioned Chocolate Pie is a delightful process that requires some time. The prep time for this recipe is approximately 30 minutes. This includes gathering your ingredients, making the pie crust, and preparing the chocolate filling. It’s a good idea to have everything ready before you start. This way, you can enjoy the process without feeling rushed.
Cooking Time for Old Fashioned Chocolate Pie
Once your pie is assembled, it’s time to bake! The cooking time for the Old Fashioned Chocolate Pie is about 30 to 35 minutes. During this time, the filling will set and develop its rich flavor. Keep an eye on the pie as it bakes. You want the center to be slightly jiggly when you take it out, as it will firm up while cooling.
Total Time for Old Fashioned Chocolate Pie
In total, you can expect to spend about 1 hour and 5 minutes on the Old Fashioned Chocolate Pie. This includes both the prep and cooking times. However, remember that chilling the pie after baking is essential for the best flavor and texture. If you can, let it chill in the refrigerator for a few hours or overnight. This extra time will make your pie even more delicious!
Nutritional Information for Old Fashioned Chocolate Pie
Calories in Old Fashioned Chocolate Pie
When indulging in a slice of Old Fashioned Chocolate Pie, it’s good to know what you’re enjoying. A typical slice of this delicious pie contains approximately 350 calories. This number can vary slightly based on the specific ingredients and portion sizes. While it’s a treat, it’s important to enjoy it in moderation, especially if you’re watching your calorie intake.
Protein Content in Old Fashioned Chocolate Pie
In terms of protein, a slice of Old Fashioned Chocolate Pie offers about 5 grams. The protein mainly comes from the eggs and milk used in the filling. While this isn’t a high-protein dessert, it does provide a small boost, making it a delightful way to satisfy your sweet tooth without completely neglecting your nutritional needs.
Sodium Levels in Old Fashioned Chocolate Pie
As for sodium, a slice of Old Fashioned Chocolate Pie contains around 200 milligrams. This amount is relatively moderate, especially considering that most people consume sodium throughout the day. If you’re watching your sodium intake, be mindful of other meals you enjoy alongside this dessert. Overall, this pie can fit into a balanced diet when enjoyed occasionally.
Understanding the nutritional information can help you make informed choices. While Old Fashioned Chocolate Pie is a delightful treat, it’s always best to enjoy it as part of a varied and balanced diet. So, go ahead and savor each bite, knowing you’re indulging in a classic dessert!
FAQs about Old Fashioned Chocolate Pie
Can I make Old Fashioned Chocolate Pie ahead of time?
Absolutely! Making Old Fashioned Chocolate Pie ahead of time is a great idea. In fact, it often tastes even better after chilling in the refrigerator for a few hours or overnight. This allows the flavors to meld beautifully. You can prepare the pie a day in advance and store it in the fridge until you’re ready to serve. Just remember to cover it with plastic wrap or aluminum foil to keep it fresh.
What can I substitute for cocoa powder in Old Fashioned Chocolate Pie?
If you find yourself without cocoa powder, don’t worry! You can use unsweetened chocolate as a substitute. For every 3 tablespoons of cocoa powder, use 1 ounce of unsweetened chocolate. Melt the chocolate and add it to the filling mixture. This will give your pie a rich chocolate flavor. Alternatively, you can use carob powder for a different taste, but keep in mind that it will alter the flavor profile of the pie.
How do I store leftover Old Fashioned Chocolate Pie?
Storing leftover Old Fashioned Chocolate Pie is simple! First, make sure the pie is completely cooled. Then, cover it with plastic wrap or aluminum foil to prevent it from drying out. You can store it in the refrigerator for up to 3 to 4 days. If you want to keep it longer, consider freezing it. Wrap individual slices tightly in plastic wrap and place them in an airtight container. This way, you can enjoy a slice of chocolate heaven whenever you crave it!
Conclusion on Old Fashioned Chocolate Pie
In conclusion, the Old Fashioned Chocolate Pie is more than just a dessert; it’s a cherished tradition that brings joy to many. With its rich, creamy filling and flaky crust, this pie is a delightful treat that can brighten any occasion. Whether you’re celebrating a birthday, hosting a family gathering, or simply indulging in a sweet craving, this classic recipe is sure to impress.
As you’ve seen, making this pie is straightforward and rewarding. From preparing the crust to creating the luscious chocolate filling, each step is filled with the promise of deliciousness. Plus, the variations and serving suggestions allow you to customize the pie to suit your taste and preferences. You can easily add flavors or try different crusts to make it uniquely yours.
Remember, the key to a perfect Old Fashioned Chocolate Pie lies in the details. Pay attention to your ingredients, follow the steps carefully, and don’t rush the cooling process. With a little patience and love, you’ll create a dessert that not only tastes amazing but also brings back fond memories for you and your loved ones.
So, gather your ingredients, roll up your sleeves, and get ready to bake! Your Old Fashioned Chocolate Pie awaits, ready to bring smiles and satisfaction to your table. Enjoy every bite, and share the joy of this classic dessert with family and friends!
Relevant Recipes Link:
Craving more delightful dessert recipes? You’ll love these sweet treats:
- Old-Fashioned Southern Pound Cake: A Must-Try Classic
- Oreo Chocolate Cake: The Ultimate Dessert Delight
- Gooey Raspberry White Chocolate Cookies: A Delightful Treat
For more fantastic recipes and food inspiration, follow us on Pinterest!