Introduction to Strawberry Ice Cream
The Allure of Homemade Strawberry Ice Cream
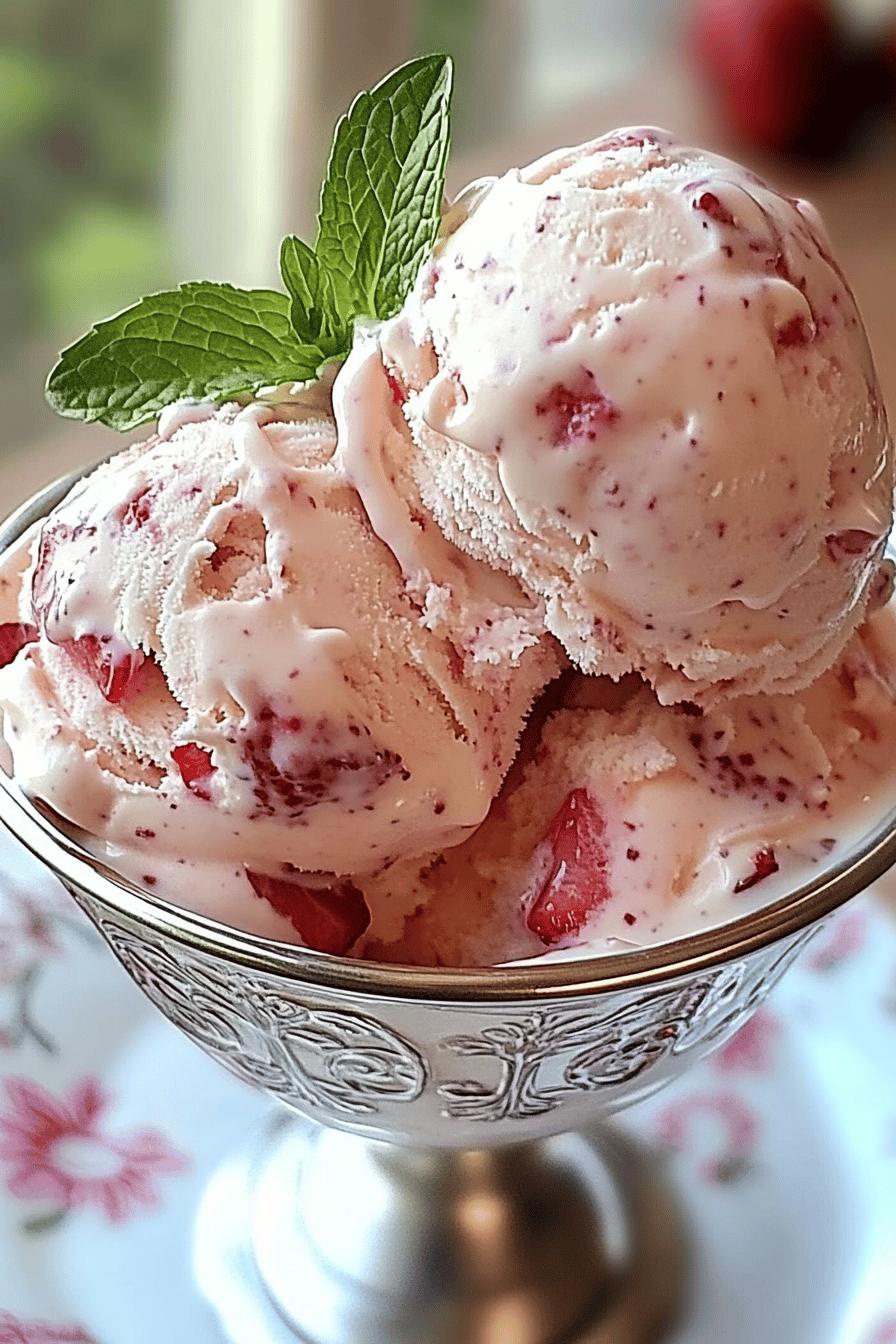
There’s something magical about homemade Strawberry Ice Cream. The moment you take a scoop, you’re greeted with a burst of fresh strawberry flavor. This delightful dessert is not just a treat; it’s an experience. Imagine the sweet aroma of ripe strawberries filling your kitchen as you prepare this creamy delight. It’s a simple pleasure that brings joy to both young and old.
Homemade ice cream allows you to control the ingredients, ensuring that every bite is as fresh and delicious as possible. Unlike store-bought varieties, which often contain preservatives and artificial flavors, your homemade version is pure and wholesome. Plus, making ice cream at home can be a fun activity to share with family and friends. It’s a great way to bond over a shared love for sweet treats!
As summer approaches, the allure of Strawberry Ice Cream becomes even stronger. It’s the perfect way to cool down on a hot day. Whether you’re hosting a backyard barbecue or enjoying a quiet evening on the porch, this ice cream is sure to impress. So, gather your ingredients and get ready to create a dessert that’s not only delicious but also filled with love and care.
In the following sections, we’ll dive into the ingredients and preparation steps needed to make this delightful Strawberry Ice Cream. Get ready to indulge in a creamy, fruity treat that will leave you wanting more!
Ingredients for Strawberry Ice Cream
To create your own homemade Strawberry Ice Cream, you’ll need a few simple ingredients. Each one plays a vital role in achieving that creamy texture and delightful flavor. Here’s what you’ll need:
- Fresh Strawberries: 2 cups, hulled and sliced. The star of the show! Choose ripe strawberries for the best flavor.
- Granulated Sugar: 3/4 cup. This sweetener enhances the natural sweetness of the strawberries.
- Heavy Cream: 2 cups. This ingredient gives the ice cream its rich and creamy texture.
- Whole Milk: 1 cup. It helps to balance the creaminess and adds a smooth consistency.
- Vanilla Extract: 1 teaspoon. A touch of vanilla adds depth to the flavor.
- Salt: A pinch. This enhances the overall taste of the ice cream.
These ingredients are easy to find and can often be sourced from your local grocery store. Using fresh strawberries is key to achieving that vibrant flavor. If you can, opt for organic strawberries to ensure you’re getting the best quality. Now that you have your ingredients ready, let’s move on to the preparation steps!
Step-by-Step Preparation of Strawberry Ice Cream
Step 1: Preparing the Strawberries
First things first, let’s get those strawberries ready! Start by washing 2 cups of fresh strawberries under cool water. Make sure to remove any dirt or debris. After washing, hull the strawberries by removing the green tops. Then, slice them into smaller pieces. This will help release their natural juices and flavor.
Next, place the sliced strawberries in a bowl. Sprinkle 1/4 cup of granulated sugar over them. Gently toss the strawberries to coat them evenly. Let them sit for about 15 minutes. This process allows the strawberries to macerate, which means they will become sweeter and juicier. The sugar will draw out the moisture, creating a delicious strawberry syrup!
Step 2: Mixing the Base
While the strawberries are soaking up the sugar, it’s time to prepare the ice cream base. In a large mixing bowl, combine 2 cups of heavy cream, 1 cup of whole milk, 3/4 cup of granulated sugar, 1 teaspoon of vanilla extract, and a pinch of salt. Use a whisk to mix everything together until the sugar is fully dissolved. This should take just a couple of minutes.
Once the mixture is smooth, add the macerated strawberries along with their syrup to the bowl. Stir gently to combine. You want to keep some strawberry pieces intact for texture. This mixture is the heart of your Strawberry Ice Cream, so make sure it’s well blended!
Step 3: Churning the Ice Cream
Now comes the fun part—churning! If you have an ice cream maker, pour the strawberry mixture into the machine. Follow the manufacturer’s instructions for churning. Typically, this process takes about 20 to 30 minutes. The mixture will thicken and become creamy as it churns.
If you don’t have an ice cream maker, don’t worry! You can still make delicious ice cream. Pour the mixture into a shallow dish and place it in the freezer. Every 30 minutes, stir the mixture with a fork to break up any ice crystals. Repeat this process for about 2 to 3 hours until the ice cream is firm and creamy.
Step 4: Freezing the Ice Cream
Once the ice cream has reached a soft-serve consistency, it’s time to freeze it for a firmer texture. Transfer the churned ice cream into an airtight container. Smooth the top with a spatula and cover it tightly. Place the container in the freezer for at least 4 hours, or until it’s completely firm.
And there you have it! Your homemade Strawberry Ice Cream is almost ready to enjoy. Just remember to take it out of the freezer a few minutes before serving. This will make scooping much easier. Now, let’s explore some fun variations you can try with this delightful recipe!
Variations of Strawberry Ice Cream
Adding Other Fruits
One of the best things about making homemade Strawberry Ice Cream is the opportunity to get creative! You can easily add other fruits to enhance the flavor and texture. For instance, consider mixing in some ripe bananas or blueberries. These fruits pair wonderfully with strawberries and add a delightful twist.
To incorporate other fruits, simply prepare them in the same way as the strawberries. Wash, slice, and toss them with a bit of sugar to release their juices. Then, mix them into your ice cream base along with the strawberries. You can also create a fruity swirl by layering the strawberry mixture with a fruit puree. This not only looks beautiful but also adds a burst of flavor in every scoop!
Another fun idea is to make a mixed berry ice cream. Combine strawberries, raspberries, and blackberries for a colorful and delicious treat. The tartness of the raspberries and blackberries will balance the sweetness of the strawberries, creating a harmonious blend. So, don’t hesitate to experiment with your favorite fruits!
Dairy-Free Options
If you’re looking for a dairy-free version of Strawberry Ice Cream, you’re in luck! There are several alternatives that can help you achieve that creamy texture without using dairy. One popular option is to use coconut milk. It’s rich and creamy, making it a perfect substitute for heavy cream.
To make dairy-free Strawberry Ice Cream, replace the heavy cream and whole milk with 2 cups of full-fat coconut milk. You can also use almond milk or cashew milk, but keep in mind that the texture may be slightly different. Follow the same preparation steps as before, and you’ll have a delicious dairy-free treat!
Additionally, you can add a bit of coconut cream for extra creaminess. This will enhance the flavor and give your ice cream a tropical twist. Just like with the regular recipe, feel free to mix in other fruits or flavors to customize your dairy-free ice cream. Enjoying a creamy dessert has never been easier!
Cooking Note for Strawberry Ice Cream
When making homemade Strawberry Ice Cream, a few cooking notes can help ensure your dessert turns out perfectly every time. First, always use the freshest strawberries you can find. Ripe strawberries not only taste better but also provide a vibrant color and natural sweetness to your ice cream.
Another important tip is to chill your mixing bowl and ice cream maker bowl before starting. This helps the mixture freeze faster, resulting in a creamier texture. If you’re using an ice cream maker, make sure the bowl is completely frozen according to the manufacturer’s instructions. This step is crucial for achieving that smooth, soft-serve consistency.
While mixing your ingredients, be careful not to overmix. You want to combine everything just enough to blend the flavors without breaking down the strawberry pieces too much. Keeping some chunks of strawberries will add delightful texture to your ice cream.
Lastly, patience is key when it comes to freezing. Allow your ice cream to freeze for at least 4 hours after churning. This will help it firm up nicely. If you find your ice cream is too hard after freezing, simply let it sit at room temperature for a few minutes before scooping. This will make serving much easier and more enjoyable!
By following these cooking notes, you’ll be well on your way to creating a delicious batch of Strawberry Ice Cream that everyone will love. Now, let’s move on to some serving suggestions that will elevate your dessert experience!
Serving Suggestions for Strawberry Ice Cream
Pairing with Toppings
Once your homemade Strawberry Ice Cream is ready, it’s time to think about toppings! The right toppings can elevate your dessert to a whole new level. Here are some delicious options to consider:
- Fresh Strawberries: Add a few slices of fresh strawberries on top for a burst of color and flavor.
- Whipped Cream: A dollop of whipped cream adds a light and fluffy texture that complements the creaminess of the ice cream.
- Chocolate Sauce: Drizzle some rich chocolate sauce over your ice cream for a delightful contrast of flavors.
- Nuts: Chopped almonds or walnuts can add a nice crunch and nutty flavor to your dessert.
- Sprinkles: For a fun touch, sprinkle some colorful candy sprinkles on top. They’re sure to bring a smile!
Feel free to mix and match these toppings to create your perfect scoop. You can even create a topping bar for parties, allowing guests to customize their own bowls of Strawberry Ice Cream. This interactive element makes dessert time even more enjoyable!
Creative Serving Ideas
Serving your Strawberry Ice Cream can be just as fun as making it! Here are some creative ideas to impress your family and friends:
- Ice Cream Sandwiches: Use two cookies to create a delicious ice cream sandwich. Chocolate chip or oatmeal cookies work wonderfully!
- Ice Cream Floats: Pour some sparkling lemonade or soda over a scoop of Strawberry Ice Cream for a refreshing float.
- Fruit Cups: Serve your ice cream in a cup filled with mixed fresh fruits. This adds a healthy twist and makes for a beautiful presentation.
- Waffle Cones: Serve your ice cream in waffle cones for a classic treat. You can even dip the cones in chocolate for extra flavor!
- Layered Parfaits: Create a parfait by layering Strawberry Ice Cream with granola and fresh fruit in a clear glass. This not only looks stunning but also tastes amazing!
These serving suggestions will not only enhance the flavor of your Strawberry Ice Cream but also make it a delightful experience for everyone. So, get creative and enjoy every scoop of your homemade treat!
Tips for Perfect Strawberry Ice Cream
Creating the perfect Strawberry Ice Cream is an art that combines quality ingredients with careful techniques. Here are some essential tips to ensure your homemade ice cream turns out creamy, flavorful, and utterly delicious:
- Choose Ripe Strawberries: The key to great flavor lies in the strawberries. Always select ripe, sweet strawberries. They should be bright red and fragrant. If possible, buy them from a local farmer’s market for the freshest taste.
- Use Heavy Cream: For that rich and creamy texture, heavy cream is a must. It contains a higher fat content, which helps create a smooth and luscious ice cream. Avoid using low-fat or skim milk, as they won’t provide the same creaminess.
- Chill Your Ingredients: Before mixing, chill your heavy cream and milk in the refrigerator. This helps the mixture freeze faster, resulting in a smoother texture. A cold base is crucial for achieving that soft-serve consistency.
- Don’t Skip the Salt: A pinch of salt enhances the flavors of your ice cream. It balances the sweetness and brings out the natural taste of the strawberries. Just a small amount goes a long way!
- Be Patient with Freezing: After churning, allow your ice cream to freeze for at least 4 hours. This step is vital for achieving the right firmness. If you’re in a hurry, you can enjoy it sooner, but the texture may be softer.
- Stir Occasionally: If you’re using the manual method of freezing, remember to stir the mixture every 30 minutes. This prevents ice crystals from forming and keeps your ice cream creamy.
- Let it Sit Before Serving: When you’re ready to serve, take the ice cream out of the freezer a few minutes beforehand. This allows it to soften slightly, making scooping much easier.
- Experiment with Flavors: Don’t hesitate to get creative! Try adding a splash of lemon juice for brightness or a hint of mint for a refreshing twist. You can also mix in chocolate chips or nuts for added texture.
By following these tips, you’ll be well on your way to making the best Strawberry Ice Cream ever! Each scoop will be a delightful blend of creamy goodness and fresh strawberry flavor. Now, let’s break down the time needed to prepare this delicious treat!
Breakdown of Time for Strawberry Ice Cream
Prep Time
Preparing your homemade Strawberry Ice Cream is a breeze! The prep time mainly involves washing, hulling, and slicing the strawberries, as well as mixing the ingredients. You can expect to spend about 20 to 30 minutes on this step. This includes the time needed for the strawberries to macerate with sugar, which enhances their flavor. So, gather your ingredients and get ready to dive into this delicious process!
Cooking Time
When it comes to cooking time, the main focus is on churning the ice cream. If you’re using an ice cream maker, this process typically takes around 20 to 30 minutes. The machine will do the hard work of mixing and aerating the ice cream, resulting in a creamy texture. If you’re opting for the manual method, you’ll need to stir the mixture every 30 minutes for about 2 to 3 hours until it reaches the desired consistency. So, whether you’re using a machine or going old-school, the cooking time is manageable and fun!
Total Time
In total, you should plan for about 4 to 5 hours to make your Strawberry Ice Cream from start to finish. This includes the prep time, cooking time, and the necessary freezing time after churning. While it may seem like a long process, most of this time is hands-off, allowing you to relax or enjoy other activities while your ice cream comes together. Plus, the end result is well worth the wait! You’ll have a delightful treat that’s perfect for any occasion.
Nutritional Information for Strawberry Ice Cream
Calories
When indulging in homemade Strawberry Ice Cream, it’s good to know what you’re enjoying. A typical serving size of about 1/2 cup contains approximately 200 to 250 calories. This can vary slightly based on the specific ingredients you use, especially if you opt for lower-fat alternatives. While it’s a sweet treat, it’s important to enjoy it in moderation as part of a balanced diet.
Protein
In terms of protein, a serving of Strawberry Ice Cream provides around 3 to 4 grams. The protein mainly comes from the heavy cream and whole milk used in the recipe. If you choose to make a dairy-free version, the protein content may be lower, depending on the milk substitute you select. For those looking to boost their protein intake, consider adding a scoop of protein powder to the mixture before churning!
Sodium
As for sodium, a serving of Strawberry Ice Cream typically contains about 50 to 70 milligrams. This amount is relatively low, making it a guilt-free dessert option. The small amount of salt added during preparation helps enhance the flavors without significantly increasing the sodium content. Always check the labels of any alternative ingredients you use, as they may vary in sodium levels.
Understanding the nutritional information can help you enjoy your Strawberry Ice Cream while keeping track of your dietary goals. Remember, it’s all about balance and enjoying your homemade treats in moderation!
FAQs about Strawberry Ice Cream
Can I use frozen strawberries for this recipe?
Yes, you can use frozen strawberries for your homemade Strawberry Ice Cream! However, keep in mind that fresh strawberries provide a brighter flavor and better texture. If you choose to use frozen strawberries, let them thaw slightly before preparing. This will help release their juices and make them easier to mash. You may also want to adjust the sugar amount, as frozen strawberries can sometimes be sweeter. Just remember, the fresher the fruit, the better the taste!
How long does homemade strawberry ice cream last?
Homemade Strawberry Ice Cream can last in the freezer for about 2 to 3 weeks when stored properly. Make sure to keep it in an airtight container to prevent freezer burn. Over time, the texture may change slightly, becoming a bit harder. To enjoy it at its best, try to consume it within the first week. If you notice any ice crystals forming, simply stir the ice cream before serving to restore some creaminess!
What can I do if my ice cream is too hard?
If your Strawberry Ice Cream turns out too hard, don’t worry! This can happen if it’s been in the freezer for a while. To fix this, simply take it out of the freezer and let it sit at room temperature for about 5 to 10 minutes. This will soften it enough to scoop easily. You can also stir it gently with a fork to break up any ice crystals before serving. Enjoying your ice cream should always be a delightful experience!
Can I make strawberry ice cream without an ice cream maker?
Absolutely! You can make delicious Strawberry Ice Cream without an ice cream maker. Just follow the same preparation steps, but instead of churning, pour the mixture into a shallow dish and place it in the freezer. Stir the mixture every 30 minutes for about 2 to 3 hours. This will help break up any ice crystals and create a creamy texture. It may take a little more effort, but the end result will still be a delightful treat!
Conclusion on Strawberry Ice Cream
Final Thoughts on Making Strawberry Ice Cream at Home
Making homemade Strawberry Ice Cream is not just about creating a delicious dessert; it’s about crafting memories and enjoying the process. With fresh ingredients and a little bit of love, you can whip up a treat that’s perfect for any occasion. Whether it’s a hot summer day or a cozy family gathering, this ice cream is sure to bring smiles all around.
As you’ve learned, the steps are simple and the variations are endless. You can customize your ice cream with different fruits or even make it dairy-free. The joy of making your own ice cream lies in the creativity it allows. So, don’t hesitate to experiment with flavors and toppings!
Remember, the key to great Strawberry Ice Cream is using ripe strawberries and taking your time during the freezing process. With a little patience, you’ll achieve that creamy, dreamy texture that everyone loves. Plus, sharing your homemade creation with friends and family makes it even more special.
So, gather your ingredients, roll up your sleeves, and dive into the delightful world of homemade Strawberry Ice Cream. You’ll not only satisfy your sweet tooth but also create a treat that’s bursting with flavor and love. Enjoy every scoop, and happy ice cream making!
Relevant Recipes Link:
Love the sweet and tangy flavor of strawberries? You’ll adore these must-try recipes:
- Strawberry Shortcake Dream Cocktail: A Delicious Drink
- Strawberry Banana Bread: A Perfectly Sweet Treat
- Strawberry Swirl Cheesecake: A Decadent Indulgence
For more delightful recipes and culinary ideas, follow us on Pinterest!